

Reliable parking lot lighting is far more than a convenience—it’s a fundamental requirement for safety, security, and the smooth operation of any commercial property. When lights fail prematurely or underperform, the consequences range from increased liability and security vulnerabilities to costly emergency service calls that eat into a contractor’s reputation and bottom line. Premature fixture failure, inconsistent illumination, and non-compliance with local safety codes are pain points that contractors face repeatedly when inferior products or improper installation methods are used.
So how do you install parking lot lights that truly stand the test of time? The answer lies at the intersection of two critical factors: selecting fixtures engineered with robust, weather-resistant materials and executing a meticulous, code-compliant installation process. This article walks you through both elements in detail—from understanding what makes a fixture durable enough for decades of outdoor exposure, to the precise steps that ensure superior performance from day one. Whether you’re upgrading an existing lot or starting from scratch, this guide will help you deliver installations that last.
Understanding Robust Materials for Parking Lot Lights
A fixture earns the label “robust” when every component is engineered to resist the specific stresses of outdoor exposure—UV radiation, temperature cycling, moisture intrusion, wind loads, and physical impact. Understanding these material choices is essential for contractors who need installations that won’t generate callbacks or warranty claims years down the road.
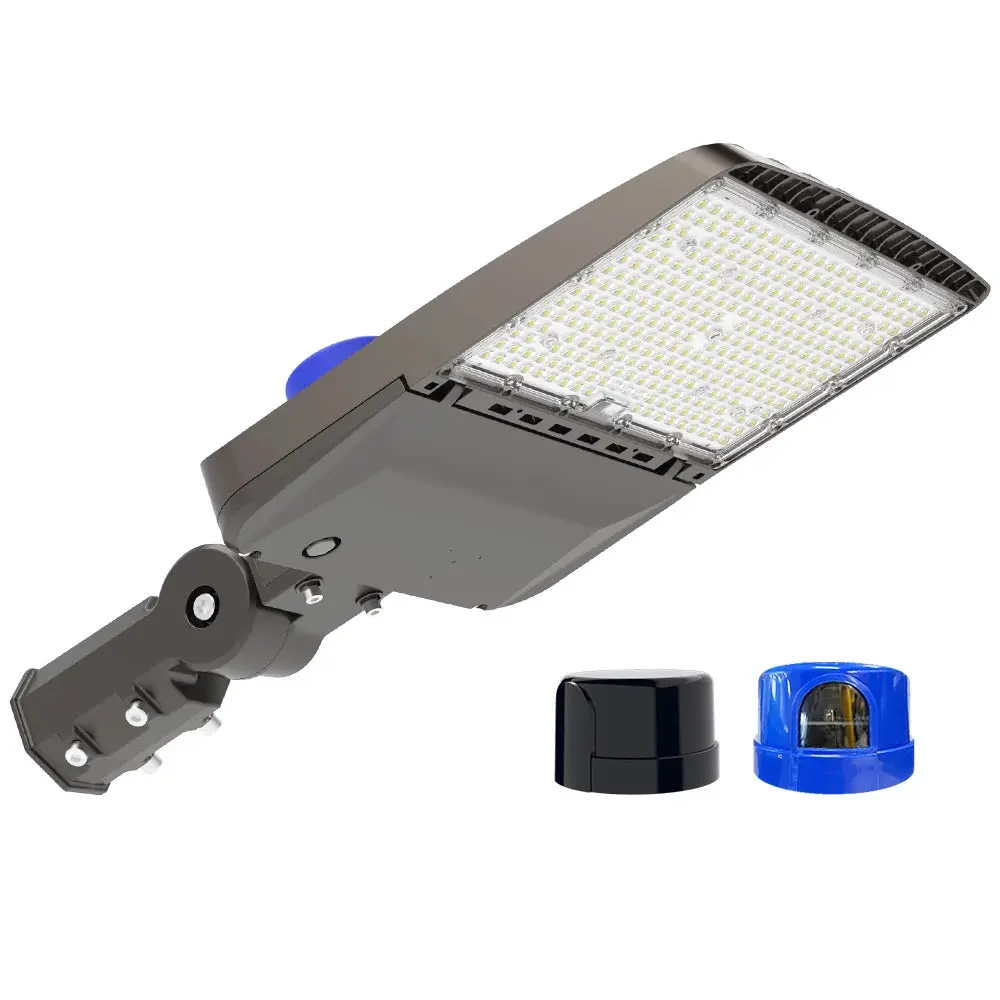
The housing is your first line of defense. High-grade die-cast aluminum remains the gold standard for parking lot fixtures because it combines structural rigidity with natural corrosion resistance. When treated with a powder-coated or anodized finish, aluminum housings can withstand salt air, industrial pollutants, and decades of rain without degrading. Some manufacturers also use advanced composite materials that offer similar durability with reduced weight, which can be advantageous on older poles with limited load capacity.
Lens material is equally critical. Tempered glass provides superior optical clarity and scratch resistance, while polycarbonate lenses offer exceptional impact durability—an important consideration in areas prone to vandalism or debris. The choice between them often depends on the specific site conditions and risk factors involved.
Beyond housing and lens materials, the fixture’s IP (Ingress Protection) rating tells you exactly how well sealed it is against dust and water. For parking lot applications, an IP65 rating or higher ensures that moisture, fine particulates, and insects cannot penetrate the optical chamber, which would otherwise degrade light output and damage internal electronics over time. Hyperlite fixtures exemplify this approach to material selection, utilizing die-cast aluminum housings with advanced thermal management and high IP ratings that serve as a reliable benchmark for what contractors should expect from a truly durable parking lot light. When you start with materials built to endure, you set the foundation for genuinely long-term performance.
Pre-Installation: Project Planning and Safety Compliance
A successful parking lot lighting installation begins long before anyone climbs a pole. The planning phase is where contractors prevent costly rework, ensure code compliance, and set the stage for a system that performs flawlessly for years. Skipping or rushing this stage is the single most common reason installations fail to meet expectations.
Start by conducting a thorough site assessment. Measure the coverage area, identify obstructions like trees or building overhangs, and determine the required illumination levels based on the lot’s classification. An open retail parking lot demands different foot-candle levels than a covered employee garage, and these specifications should be documented before any fixture is selected. Use photometric software or manufacturer-provided IES files to model light distribution and confirm that your layout eliminates dark spots while avoiding over-illumination on adjacent properties.
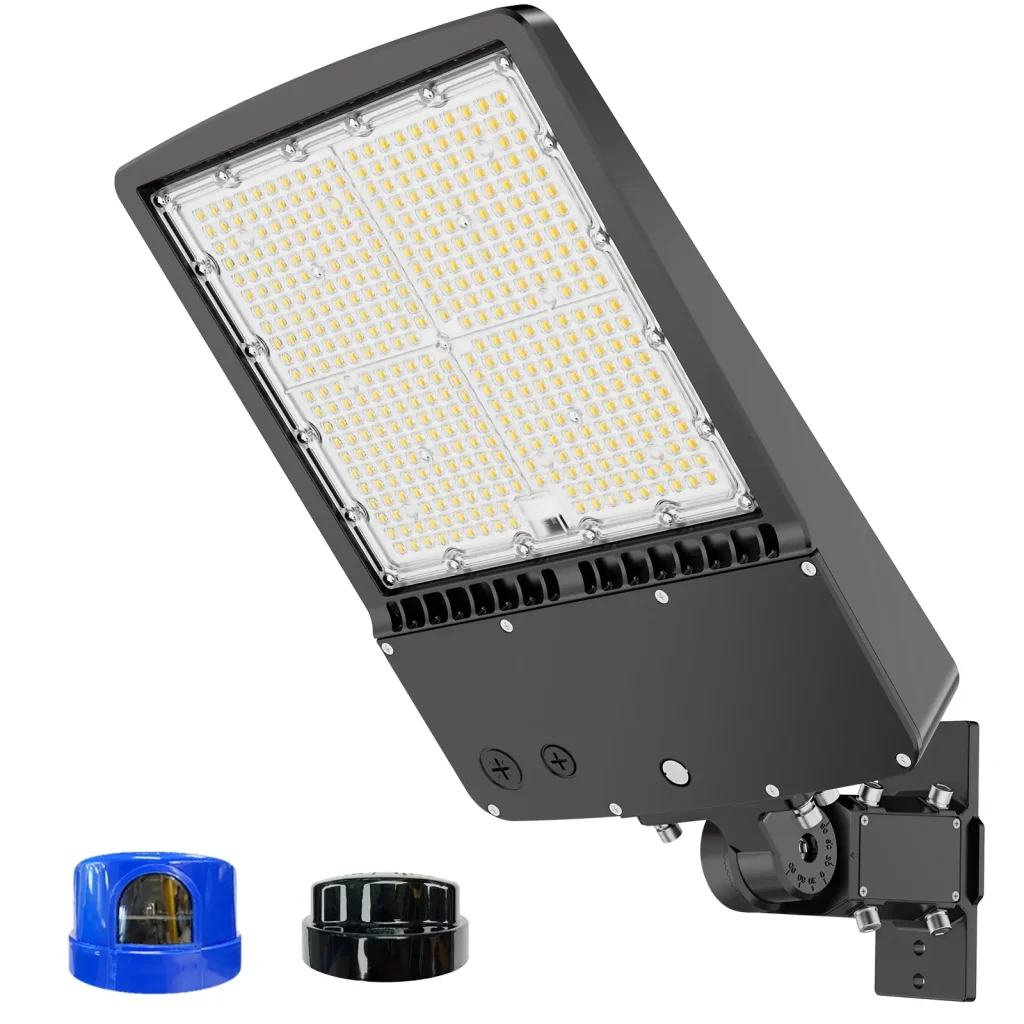
Fixture selection follows directly from this analysis. LED technology has largely supplanted traditional HID sources for parking lot applications due to superior energy efficiency, longer operational life, and instant-on capability. However, not all LED fixtures are equal—match the wattage, beam angle, and color temperature to your photometric plan rather than defaulting to a one-size-fits-all approach.
Code compliance is non-negotiable. Verify all applicable requirements including NEC electrical standards, local building permits, dark sky ordinances that restrict uplight and glare, and any utility rebate program specifications that may influence fixture choice. Document pole height restrictions, setback requirements, and any environmental regulations specific to the jurisdiction. Creating a detailed installation plan that addresses each of these elements protects both the contractor and the client, ensuring the project passes inspection on the first attempt and delivers compliant, safe illumination from the moment it’s energized.
The Step-by-Step Installation Process for Superior Performance
With planning complete and materials on site, execution determines whether your installation delivers the performance and longevity you’ve designed for. Each step builds on the previous one, and cutting corners at any stage compromises the entire system. Here’s how to get it right.
Step 1: Site Preparation and Mounting Structure
Before any fixture leaves the ground, verify the integrity of your mounting infrastructure. For new installations, confirm that pole foundations have fully cured and meet the engineered load specifications for the fixture weight plus wind loading. Inspect anchor bolts for proper projection, alignment, and torque values. For retrofit projects on existing poles, conduct a thorough structural assessment—check for corrosion at the base plate, hairline cracks in welds, and any signs of leaning or settlement that indicate compromised footings. The pole must safely support not only the fixture’s static weight but also the dynamic forces generated during high-wind events. Verify that mounting height matches your photometric plan precisely, as even a two-foot deviation can significantly alter coverage patterns and foot-candle readings at grade level.
Step 2: Safe Electrical Wiring and Connections
Electrical work demands precision and strict adherence to NEC requirements. Run conduit from the electrical panel to each pole base, maintaining proper burial depth for underground runs and using appropriate fittings at every transition point. Inside the pole, pull conductors sized to handle the circuit load with adequate margin, and secure them to prevent chafing against metal edges. All connections—whether at the junction box, within the pole hand hole, or at the fixture—must be made with listed connectors and sealed against moisture intrusion using waterproof wire nuts, heat-shrink tubing, or gel-filled splice kits. Proper grounding is essential: bond each pole to the equipment grounding conductor and verify continuity with a meter before proceeding. Test each circuit for correct voltage, proper phasing, and absence of ground faults before attaching any fixture. This methodical approach prevents the most common failure mode in outdoor lighting—water infiltration into electrical connections that causes intermittent operation and eventual short circuits.
Step 3: Fixture Assembly, Mounting, and Aiming
Assemble fixtures at ground level whenever possible to ensure safe, thorough work. Attach mounting arms, verify that lens gaskets are properly seated, and confirm all hardware is tightened to manufacturer specifications. When hoisting fixtures into position, use appropriate rigging to prevent impact damage, and never allow a fixture to hang by its wiring. Secure the fixture to the arm or tenon with stainless steel hardware, applying anti-seize compound to prevent galvanic corrosion between dissimilar metals. Aiming is where photometric planning becomes reality—adjust the fixture’s tilt angle according to your layout design, typically between zero and five degrees below horizontal for Type III or Type V distributions. Use a digital level for consistency across multiple fixtures, and orient each unit to direct light onto the intended coverage zone while minimizing glare toward roadways, adjacent properties, and the sky.
Step 4: Final Testing and Commissioning
Energize the system and allow fixtures to reach full output. Walk the entire lot with a light meter to verify that illumination levels meet your design specifications at multiple measurement points—pay particular attention to transitions between fixture coverage zones, lot perimeters, and pedestrian pathways. Compare readings against IES recommendations and local code minimums. Check for hot spots, dark patches, and any glare issues visible from driver eye height. Verify that controls—photocells, timers, or networked management systems—operate correctly through a full cycle. Document everything: record meter readings, photograph fixture positions and aiming angles, note any deviations from the original plan, and compile as-built drawings. This documentation package serves as both a commissioning record and a baseline for future maintenance assessments, giving your client confidence that the installation meets every specification.
Ensuring Longevity: Post-Installation Tips and Maintenance
Even the most meticulously installed parking lot lighting system requires ongoing attention to deliver its full service life. Establishing a proactive maintenance schedule prevents small issues from escalating into costly failures or safety hazards. At minimum, conduct visual inspections quarterly—look for lens discoloration, housing damage from impacts, loose mounting hardware, and any signs of water intrusion such as condensation inside the optical chamber. Clean lenses and housings at least twice annually, more frequently in environments with heavy dust, pollen, or industrial fallout, since accumulated grime can reduce light output by 20 percent or more without any component actually failing.
Electrical connections deserve annual inspection, particularly at hand holes and junction boxes where thermal cycling and vibration can gradually loosen terminals. Check photocells and control devices for proper operation as seasons change, and verify that surge protection devices haven’t absorbed a damaging event without visible indication. LED drivers typically represent the first component to reach end of life, often showing signs through flickering or reduced output before complete failure—plan for driver replacement at the 7-to-10-year mark depending on operating conditions. Fixtures engineered with robust materials, such as those featuring die-cast aluminum housings and sealed optical assemblies, inherently reduce maintenance frequency by resisting the environmental degradation that plagues lesser products. By combining quality fixture selection with a disciplined maintenance program, you protect the long-term investment and ensure consistent, reliable illumination throughout the system’s operational life.
Building Lasting Parking Lot Lighting Through Quality Materials and Precise Installation
Installing parking lot lights that deliver decades of reliable service comes down to three interconnected pillars. First, selecting fixtures constructed from robust materials—die-cast aluminum housings, high-quality lenses, and sealed assemblies with appropriate IP ratings—ensures the hardware itself can withstand years of environmental punishment without degradation. Second, thorough pre-installation planning that accounts for site-specific illumination requirements, photometric modeling, and full code compliance eliminates the rework and inspection failures that erode project profitability. Third, executing each installation step with precision—from verifying pole integrity and making waterproof electrical connections to accurate fixture aiming and comprehensive commissioning—transforms a good design into a high-performing reality.
This disciplined approach, supported by quality fixture choices from manufacturers like Hyperlite that engineer specifically for long-term outdoor durability, delivers measurable results: fewer callbacks, satisfied clients, enhanced safety, and lighting systems that maintain their performance year after year. Every installation you complete is a reflection of your professional standards. By investing the effort upfront in material selection and meticulous execution, you build a reputation for excellence while saving your clients significant long-term costs on replacements and emergency repairs. The best parking lot lighting installation is one that simply works—night after night, season after season—without demanding attention.