

Every successful product begins as a prototype—a tangible bridge between concept and reality that allows engineers to test assumptions, validate designs, and catch costly errors before committing to full-scale manufacturing. In today’s competitive landscape, the method you choose for building functional prototypes can dramatically influence your project’s timeline, budget, and ultimate success. Product developers increasingly find themselves weighing a pivotal decision: should they leverage the speed and geometric freedom of 3D printing, or rely on the proven material fidelity and precision of traditional manufacturing approaches like CNC machining and injection molding? The pressure to iterate quickly while still producing prototypes robust enough for real-world testing makes this choice anything but straightforward. This article offers a comprehensive comparison of both pathways, examining cost structures, turnaround times, material capabilities, and integration with simulation tools. Along the way, you’ll find practical guidance for matching the right prototyping method to each phase of development—from early concept validation through pre-production testing—so you can move confidently from idea to manufactured product.
Understanding Traditional Prototyping Approaches
Traditional prototyping methods—CNC machining, injection molding, and manual fabrication—have anchored product development for decades. Before additive manufacturing entered the scene, these subtractive and formative processes were the only reliable way to produce functional prototypes that could withstand real-world testing conditions. Their enduring relevance stems from a set of strengths that remain difficult to replicate. CNC machining carves parts from solid blocks of production-grade metals and engineering plastics, delivering dimensional tolerances as tight as ±0.025 mm. Injection molding, while requiring upfront tooling investment, produces prototypes in the exact thermoplastic resins destined for final production, giving engineers genuine insight into material behavior under load, temperature, and chemical exposure. Manual fabrication techniques—welding, sheet metal forming, casting—round out the toolkit when custom geometries or mixed-material assemblies are needed.
These strengths come with well-known trade-offs. Tooling design and fabrication can add weeks to a project schedule, and each design revision often means recutting molds or reprogramming tool paths, driving iteration costs upward. Complex internal channels, lattice structures, or organic shapes may require multi-axis setups or be outright impossible to produce subtractively. For product developers operating under tight deadlines, the reliability of traditional prototyping must be weighed against its slower feedback loop. Still, when a prototype must faithfully represent production-intent material properties and surface finishes, traditional methods set a benchmark that newer technologies are still working to match. Understanding where these methods excel—and where they impose constraints—is essential groundwork for evaluating 3D printing as an alternative.
Common Traditional Techniques and Their Applications
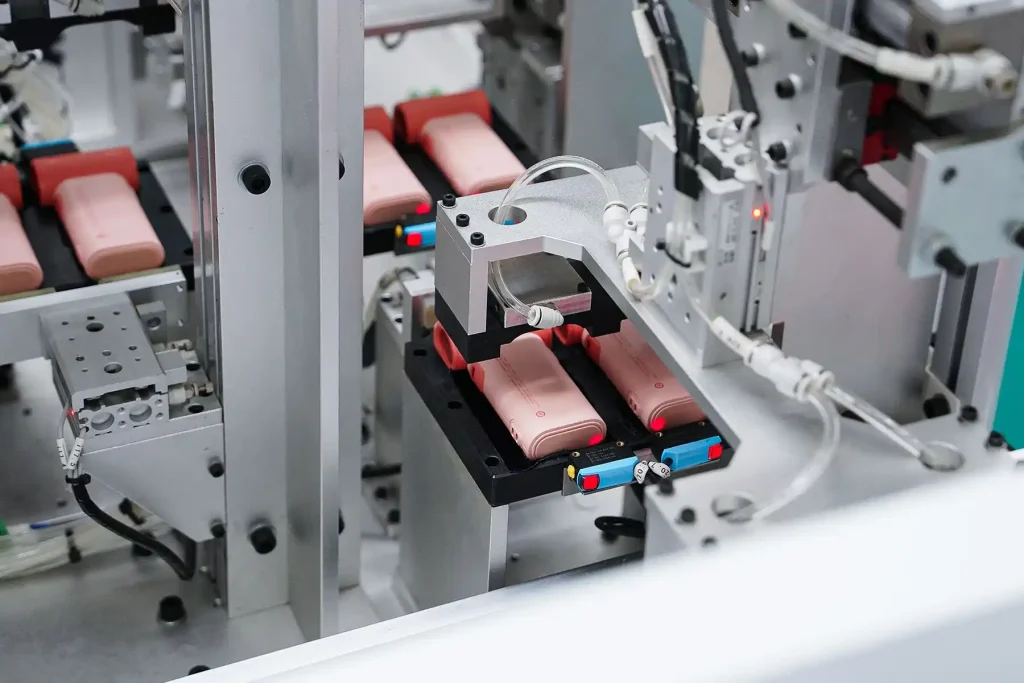
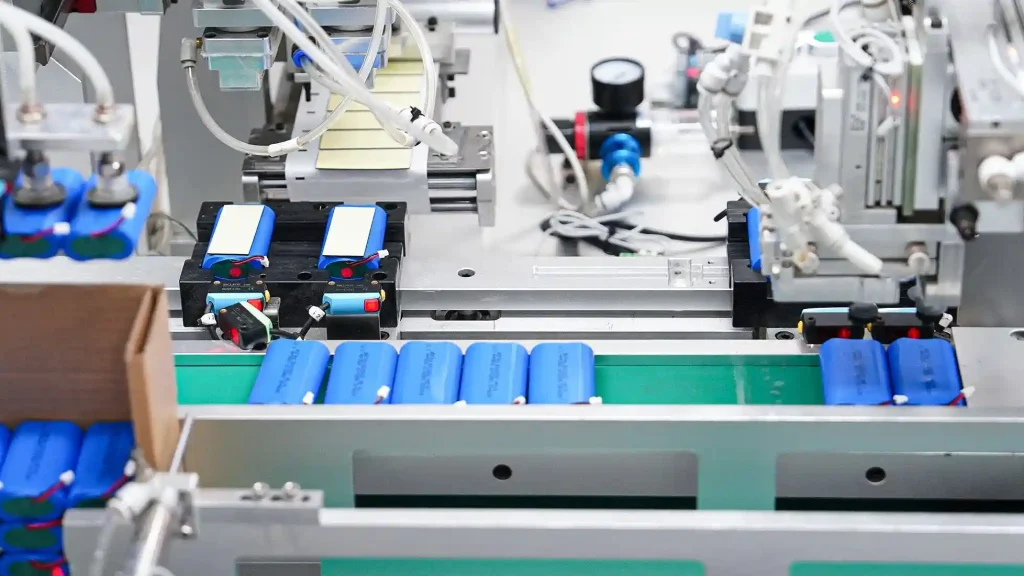
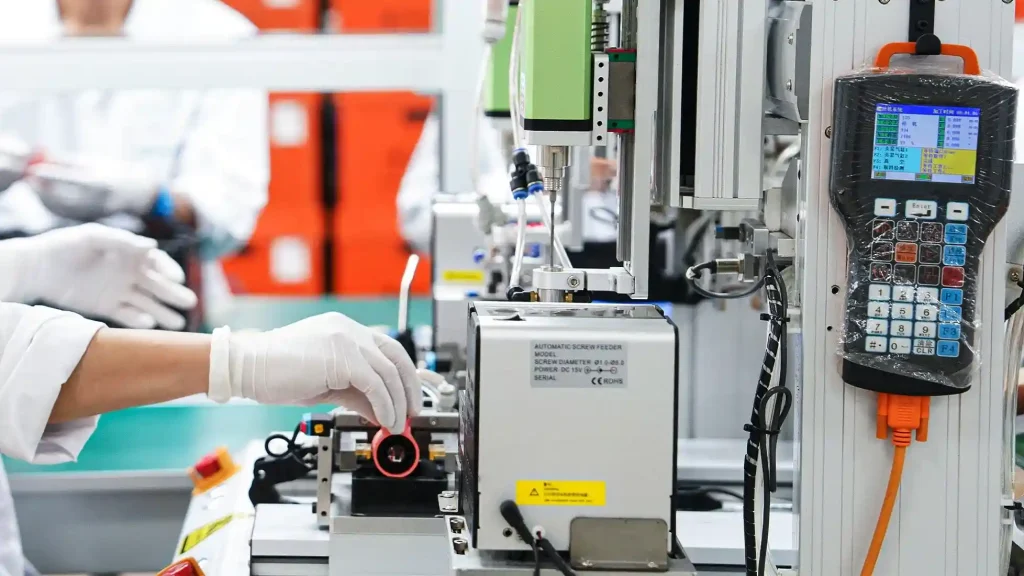
CNC machining dominates in aerospace and medical devices, where aluminum, titanium, and stainless-steel prototypes must meet stringent performance and certification requirements. Injection molding serves consumer electronics and automotive interiors, enabling developers to evaluate snap fits, surface textures, and color matching in production-equivalent polymers like ABS or polycarbonate. Vacuum casting bridges the gap for small-batch runs of flexible or overmolded parts. Many teams turn to specialized prototyping services that maintain multi-axis mills, EDM equipment, and in-house mold shops, compressing lead times that would otherwise stretch even longer if managed internally.
The Advent of 3D Printing in Functional Prototyping
The emergence of additive manufacturing has fundamentally reshaped how product developers approach functional prototyping. Rather than removing material from a solid block or waiting weeks for tooling, 3D printing builds parts layer by layer directly from CAD data, collapsing the gap between digital design and physical testing. Three technologies dominate the functional prototyping space: Fused Deposition Modeling (FDM), Stereolithography (SLA), and Selective Laser Sintering (SLS). Each offers a distinct combination of material capability, resolution, and mechanical performance that maps to different stages of the development cycle.
The most transformative advantage of 3D printing for functional prototypes is the speed of iteration. A designer can modify a CAD file in the morning, send it to a printer, and hold a revised prototype by the end of the day—a feedback loop that would take days or weeks through traditional channels. This accelerated cycle is especially valuable during early and mid-stage development, when designs are still fluid and each round of physical testing reveals geometry changes, wall-thickness adjustments, or feature additions. Because no tooling is involved, the cost of a tenth iteration is essentially the same as the first, removing the financial penalty that discourages experimentation in mold-based workflows.
Design freedom is another area where 3D printing excels. Internal cooling channels, topology-optimized lattices, consolidated assemblies that replace multi-part bolted structures—these geometries are either prohibitively expensive or outright impossible with subtractive methods, yet they print with little added complexity. For small-batch functional testing, additive manufacturing also proves cost-effective; producing five or ten units requires no amortized tooling investment, making it an attractive option for startups and lean teams relying on prototyping services to validate concepts before committing capital. As material science advances, engineering-grade polymers like PEEK, carbon-fiber-filled nylon, and tough photopolymers continue to narrow the performance gap between printed parts and their traditionally manufactured counterparts, expanding the range of tests a 3D-printed prototype can credibly support.
Key 3D Printing Technologies for Developers
FDM is the workhorse for durable prototypes that must endure mechanical loading, vibration, or elevated temperatures; materials like ABS, polycarbonate, and nylon deliver functional performance at a low per-part cost. SLA produces parts with fine surface detail and tight dimensional accuracy, making it ideal for fit-checks, fluid-flow housings, and components where surface finish matters for user testing. SLS sinters powdered nylon or glass-filled composites into fully dense parts with isotropic mechanical properties, bridging the gap toward production-grade strength without tooling. When selecting a technology, developers should start by defining the prototype’s primary purpose—mechanical validation, ergonomic evaluation, or thermal testing—then match material requirements and tolerance needs to the process that delivers the best fidelity. This structured selection ensures rapid design validation without sacrificing the data quality needed to make confident engineering decisions.
Comparative Analysis: 3D Printing vs. Traditional Methods
When evaluating 3D printing against traditional prototyping, four dimensions matter most to product developers: cost, time, material properties, and dimensional accuracy. Understanding how each method performs across these criteria turns what often feels like an intuitive decision into a data-driven one.
On cost, 3D printing holds a clear advantage for low-volume runs and early-stage iterations. Without tooling overhead, producing one to twenty units costs only material and machine time. Traditional methods like CNC machining carry higher per-part costs for complex geometries due to programming, fixturing, and multi-axis setups, while injection molding demands thousands of dollars in mold fabrication before a single part is produced. However, this equation inverts at higher volumes—once tooling exists, injection-molded parts cost pennies each, making traditional methods far more economical for pre-production batches of hundreds or more.
Turnaround time is where 3D printing delivers its most compelling value. A functional prototype can move from revised CAD file to finished part in hours, whereas CNC machining typically requires two to five days and injection molding tooling stretches timelines to three to six weeks. For teams running rapid design-test-learn cycles, this speed difference translates directly into more iterations within the same development window, reducing the risk of locking in flawed geometry.
Material properties and accuracy still favor traditional approaches in many scenarios. CNC-machined parts use production-grade metals and plastics with well-characterized mechanical data, and tolerances of ±0.025 mm satisfy even demanding aerospace specifications. 3D-printed parts have improved significantly—SLS nylon achieves near-isotropic strength, and PEEK prints rival some machined engineering plastics—but anisotropic layer adhesion, surface roughness, and limited certified material databases mean that final validation testing often still requires traditionally manufactured prototypes. The practical path forward involves matching method to purpose: use 3D printing to explore design space quickly and affordably, then transition to CNC or molded prototypes when material certification, tight tolerances, or high-volume economics demand it.
Case Studies: Real-World Applications
In the automotive sector, a European OEM developing a new HVAC duct assembly used SLS-printed nylon prototypes to evaluate airflow geometry across twelve design variants in under three weeks—a process that would have consumed three months and significant tooling budget through traditional injection molding. The team validated the final design with CFD-correlated flow bench testing before committing to production tooling, saving an estimated forty percent in development costs. In consumer electronics, a startup producing a handheld device used FDM prototypes for ergonomic evaluation and drop-test screening, then shifted to CNC-machined polycarbonate housings for final regulatory compliance testing. This phased approach let them iterate freely during concept refinement while still meeting certification requirements with production-representative parts. The lesson for product developers is consistent: combining both methods strategically—rather than choosing one exclusively—yields the fastest, most cost-effective path from concept to validated design.
Enhancing Prototypes with Simulation and Analysis
Building a physical prototype answers many questions, but pairing it with simulation tools like Finite Element Analysis (FEA) and Computational Fluid Dynamics (CFD) answers them faster and with greater depth. Simulation allows engineers to predict how a design will behave under mechanical stress, thermal cycling, or fluid flow before committing material and machine time—turning each physical test into a confirmation rather than an exploration. Both 3D-printed and traditionally manufactured prototypes benefit from this integration, though the workflow differs. With 3D printing, engineers can run a simulation, identify a stress concentration, revise the CAD geometry, and print a corrected part within the same day, creating a tight digital-physical feedback loop that accelerates convergence on an optimized design. Traditional prototypes, meanwhile, provide the material accuracy needed to validate simulation models against real-world data, ensuring that FEA predictions based on isotropic material cards hold true in machined metal or molded polymer parts.
To get the most from simulation-driven prototyping, product developers should follow a structured approach. First, establish simulation models early in the design phase using preliminary material data, even before the first prototype is built. Second, use 3D-printed prototypes to validate broad design intent—load paths, flow patterns, thermal gradients—and correlate those results against simulation outputs. Third, once the design stabilizes, produce traditionally manufactured prototypes from production-grade materials and run a final round of physical tests to calibrate simulation accuracy for certification or compliance purposes. Software platforms such as ANSYS, Abaqus, and Siemens Simcenter offer integrated environments that link CAD, simulation, and additive manufacturing preparation, streamlining handoffs between digital analysis and physical validation. By embedding simulation at every stage rather than treating it as a final checkpoint, teams reduce the total number of physical prototypes needed while increasing confidence in each design decision.
Prototyping Services and the Path to Mass Production
The leap from a validated prototype to full-scale manufacturing is where many product development programs stall, and the prototyping method you’ve relied on heavily influences how smooth—or painful—that transition becomes. Traditional prototyping approaches inherently ease this handoff because the processes involved mirror production workflows. A CNC-machined prototype already accounts for the fixturing, material grades, and tolerances that a contract manufacturer will replicate at scale. An injection-molded prototype produced in a pilot tool can transition to a hardened production mold with minimal design rework, giving teams confidence that snap fits, wall thicknesses, and surface finishes will carry over faithfully. Molding manufacturers like WEILAN MFG that offer both rapid tooling and bridge production help developers move from dozens of test units to thousands without switching vendors or requalifying parts.
3D printing, by contrast, excels at de-risking designs before that tooling investment is made but rarely serves as the production method itself for high-volume goods. The strategic value lies in using additive manufacturing to finalize geometry, validate assembly sequences, and confirm simulation predictions, then handing off a mature, thoroughly tested design package to traditional manufacturing partners. To plan this transition effectively, product developers should take several concrete steps: lock critical dimensions and material selections during the 3D-printed iteration phase, engage manufacturing partners early to review design-for-manufacturability constraints, and use simulation data gathered throughout prototyping to predict mold-flow behavior, cycle times, and potential defect modes. This simulation-informed bridge between prototyping and mass production reduces first-article rejection rates and shortens the ramp to volume output. Ultimately, the most efficient programs treat prototyping services not as an isolated phase but as the opening chapter of a manufacturing strategy—one where every printed part and every machined sample feeds forward into a production-ready design.
Blending 3D Printing and Traditional Methods for Optimal Prototyping
Choosing between 3D printing and traditional prototyping is not an either-or decision—it is a strategic sequencing challenge. 3D printing delivers unmatched speed and design freedom during early and mid-stage development, enabling product developers to explore dozens of design variants without tooling penalties. Traditional methods like CNC machining and injection molding remain essential when prototypes must replicate production-grade material behavior, meet tight dimensional tolerances, or undergo regulatory certification testing. The most effective development programs blend both approaches, using additive manufacturing to iterate rapidly and converge on a mature design, then shifting to traditionally manufactured prototypes for final validation and production readiness.
Simulation and analysis tools amplify the value of either method. By embedding FEA and CFD early in the prototyping cycle, teams reduce the total number of physical builds required while increasing confidence in every design change. When planning your next project, map each development phase to the prototyping method that best serves its goals: 3D printing for exploration, traditional manufacturing for confirmation, and simulation throughout to connect digital predictions with physical results. As material science, printer resolution, and hybrid manufacturing workflows continue to advance, the boundary between printed and traditionally made prototypes will keep narrowing—giving product developers an ever-expanding toolkit to bring better products to market faster.