

Starting a new practice can feel overwhelming, but yoga is for everyone. You don’t need to be flexible or have special equipment to begin. This guide breaks down the essential and basic yoga techniques for beginners, helping you build a safe and enjoyable practice from the comfort of your home. We’ll cover everything from your first breath to your first flow, giving you the confidence to step onto your mat.
Getting Started: The Foundation of Your Practice
Before you try your first pose, it’s important to understand the two core elements that make yoga a mindful practice: breath and movement.
The Power of Yoga Breathing
Your breath is your most powerful tool in yoga. It anchors your mind and fuels your body. Focusing on your breath helps you stay present and move with intention. Here are two foundational yoga breathing techniques.
- Diaphragmatic Breathing (Belly Breathing): This is the natural way we breathe. It helps calm the nervous system and increase oxygen intake.
- Lie on your back with your knees bent or sit comfortably.
- Place one hand on your chest and the other on your belly.
- Breathe in deeply through your nose, allowing your belly to expand and rise. Try to keep your chest relatively still.
- Exhale slowly through your nose, feeling your belly fall.
- Ujjayi Breath (Victorious Breath): Often called the “ocean breath” for its sound, Ujjayi helps build internal heat and maintain focus.
- With your mouth closed, slightly constrict the back of your throat, as if you were about to whisper.
- Inhale and exhale through your nose. You should hear a soft, oceanic sound.
- Try to match the length of your inhales and exhales.
Why Warming Up Matters
A gentle warm-up prepares your muscles and joints for movement, preventing injury. Spend 5-10 minutes waking up your body before moving into deeper poses. Cat-Cow Pose is a perfect warm-up for the spine.
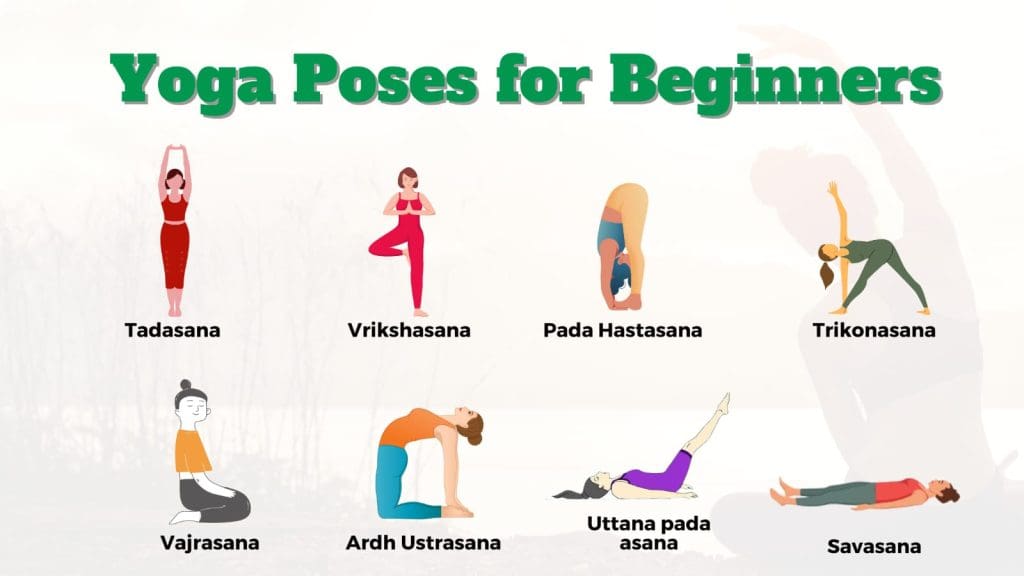
10 Beginner Yoga Poses to Master
These foundational poses are the building blocks of most yoga classes. Focus on proper yoga alignment rather than how deep you can go.
1. Mountain Pose (Tadasana)
This is the blueprint for all standing poses. It teaches you to ground yourself and find proper posture.
- How-to: Stand with your big toes touching and heels slightly apart. Press down through all four corners of your feet. Engage your leg muscles, tuck your tailbone slightly, and lengthen your spine. Roll your shoulders back and down, letting your arms rest by your sides with palms facing forward.
- Common Mistake: Locking the knees or slumping the shoulders. Keep a micro-bend in your knees and your chest lifted.
2. Cat-Cow Pose (Marjaryasana-Bitilasana)
A gentle flow that warms up the spine and connects breath to movement.
- How-to: Start on your hands and knees (tabletop position) with wrists under shoulders and knees under hips. As you inhale (Cow), drop your belly, lift your chest and gaze forward. As you exhale (Cat), round your spine toward the ceiling, tucking your chin to your chest.
- Common Mistake: Moving too quickly. Sync each movement to a full inhale or exhale.
3. Child’s Pose (Balasana)
A resting pose that gently stretches the back, hips, and thighs.
- How-to: From tabletop, bring your big toes to touch and sit back on your heels. Widen your knees as much as is comfortable. Fold forward, resting your torso between your thighs and your forehead on the mat.
- Common Mistake: Tensing the shoulders. Let them relax and melt toward the mat.
4. Downward-Facing Dog (Adho Mukha Svanasana)
An iconic yoga pose that strengthens the arms and legs while stretching the entire back of the body.
- How-to: From tabletop, tuck your toes and lift your hips up and back, forming an inverted V shape. Press firmly into your hands, keeping your head between your upper arms.
- Common Mistake: Focusing on straight legs and flat heels. Prioritize a long, straight spine by bending your knees generously.
5. Low Lunge (Anjaneyasana)
A great stretch for the hip flexors and quadriceps.
- How-to: From Downward Dog, step your right foot forward between your hands. Lower your left knee to the mat. Ensure your right knee is stacked directly over your right ankle. You can keep your hands on the mat or lift your torso and place your hands on your front thigh.
- Common Mistake: Letting the front knee drift past the ankle, which puts pressure on the joint.
6. Warrior II (Virabhadrasana II)
A powerful standing pose that builds strength in the legs and opens the hips and chest.
- How-to: Stand with your feet wide apart. Turn your right foot out 90 degrees and your left foot in slightly. Bend your right knee until it’s over your ankle, keeping your left leg straight. Extend your arms parallel to the floor, gazing over your right fingertips.
- Common Mistake: Leaning forward. Keep your torso stacked directly over your hips.
7. Tree Pose (Vrksasana)
A balancing pose that improves focus and strengthens the legs and core.
- How-to: Stand in Mountain Pose. Shift your weight onto your left foot. Place the sole of your right foot on your left ankle, calf, or inner thigh (avoid the knee). Bring your hands to your heart. Find a non-moving spot to focus on.
- Common Mistake: Placing the foot directly on the knee joint.
8. Seated Forward Fold (Paschimottanasana)
A calming pose that stretches the hamstrings, lower back, and spine.
- How-to: Sit on the floor with your legs extended in front of you. Hinge forward from your hips, keeping your back as straight as possible. Rest your hands on your shins, ankles, or feet.
- Common Mistake: Rounding the upper back to reach the toes. Lead with your chest and focus on lengthening the spine.
9. Bridge Pose (Setu Bandhasana)
A gentle backbend that strengthens the back of the body and opens the chest.
- How-to: Lie on your back with your knees bent, feet flat on the floor hip-width apart. Your fingertips should be able to graze your heels. Press into your feet and lift your hips off the floor.
- Common Mistake: Letting the knees splay out. Keep your thighs parallel.
10. Corpse Pose (Savasana)
The final and most important resting pose. It allows your body to absorb the benefits of the practice.
- How-to: Lie on your back. Let your feet fall open naturally and rest your arms by your sides, palms facing up. Close your eyes and allow your body to be heavy.
- Common Mistake: Skipping it! This pose is crucial for integration and relaxation.
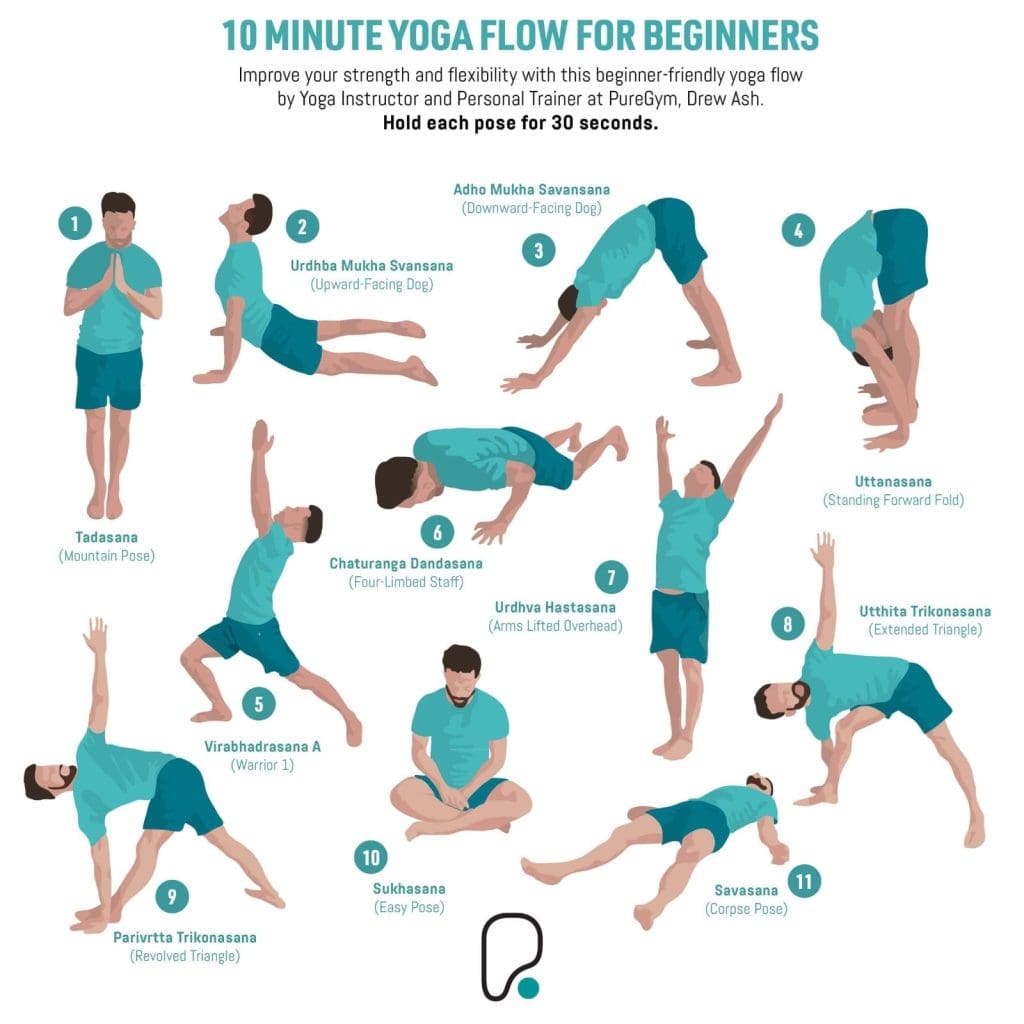
Your First 15-Minute Yoga Sequence
Ready to link it all together? Here is a simple flow to help you start practicing at home.
- Centering (1 minute): Sit comfortably and practice Diaphragmatic Breathing.
- Warm-Up (3 minutes): Move through 5-8 rounds of Cat-Cow Pose, syncing breath with movement.
- Flow (8 minutes):
- From tabletop, move into Downward-Facing Dog (hold for 5 breaths).
- Step your right foot forward into a Low Lunge. Hold for 3 breaths.
- Return to Downward-Facing Dog.
- Step your left foot forward into a Low Lunge. Hold for 3 breaths.
- Return to Downward-Facing Dog, then walk your feet to your hands and rise to Mountain Pose.
- Practice Tree Pose on both sides (5 breaths each side).
- Step into Warrior II on both sides (5 breaths each side).
- Cool-Down (3 minutes):
- Come to a seated position for Seated Forward Fold (5 breaths).
- Lie on your back for Bridge Pose (hold for 5 breaths).
- Rest in Child’s Pose (5 breaths).
- Final Rest (as long as you like): Settle into Savasana for at least 2-5 minutes.
Essential Yoga Tips for Beginners
- Listen to Your Body: The golden rule of yoga. If a pose causes sharp pain, back off. Discomfort is okay; pain is not.
- Use Props: Props are not a sign of weakness; they are tools for better alignment. Use a blanket under your knees, a block under your hand in a lunge, or a strap in a forward fold.
- Don’t Compare: Your yoga journey is unique. Focus on your own mat and how you feel, not on how you look.
- Stay Consistent: A 15-minute practice three times a week is more beneficial than one long session every few weeks. Habit formation is key.
Frequently Asked Questions
Q: Do I need a yoga mat to start?
A: While a yoga mat provides cushioning and grip, you can start on a non-slip rug or carpet.
Q: How often should I practice yoga as a beginner?
A: Aim for 2-3 sessions per week to start. Consistency is more important than duration. Even 10-15 minutes is beneficial.
Q: Can I do yoga if I’m not flexible?
A: Absolutely. Yoga is not about being flexible; it’s about building strength, balance, and mindfulness. Flexibility will improve with consistent practice.
Q: What if I can’t do a pose correctly?
A: That’s perfectly normal. Use modifications, like bending your knees in Downward Dog or using a block. The goal is progress, not perfection.
Learning these basic yoga techniques for beginners is your first step on a rewarding journey. Be patient with yourself, celebrate small victories, and enjoy the process of connecting with your body and breath.
Bookmark this guide to return to as you build your practice. For more tips and sequences, subscribe to our newsletter