
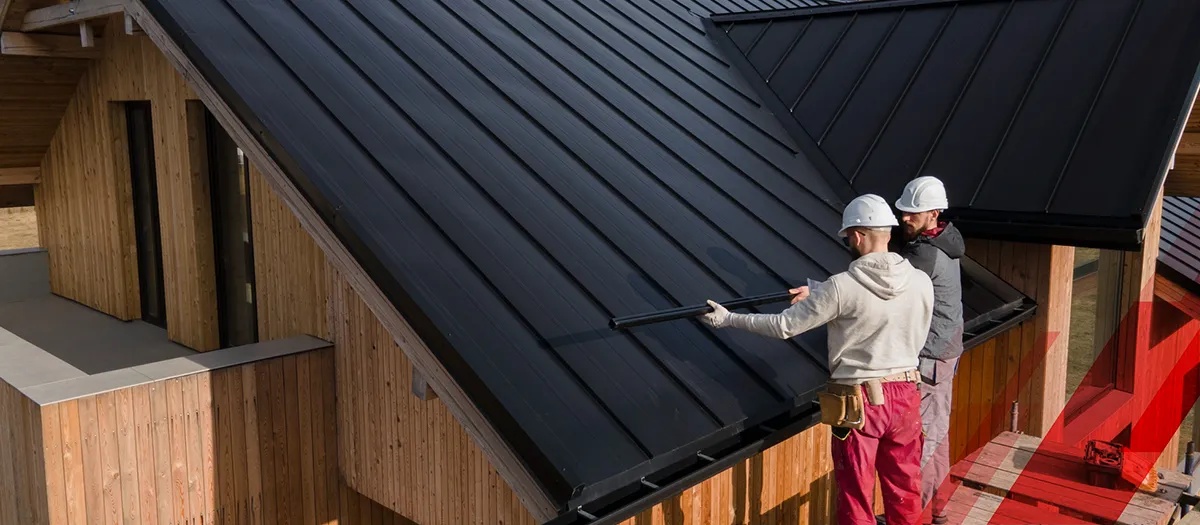
Before starting any commercial roof installation project, a thorough inspection is essential. Skipping this step can lead to costly mistakes, structural issues, and reduced roof lifespan. A proper inspection ensures that the new roofing system is installed on a solid foundation and performs efficiently for years to come.
In this guide, we’ll walk you through a step-by-step commercial roof inspection process so you know exactly what to expect before installation begins.
Why Roof Inspection Is Important Before Installation
A commercial roof inspection helps identify hidden problems such as leaks, structural damage, or drainage issues. It also allows contractors to recommend the best materials and installation methods based on the building’s condition.
Even services like Best Gutter Cleaning Service Felton CA highlight the importance of proper drainage and maintenance, which plays a key role in roof performance. Without inspection, small issues can turn into major expenses later.
Step 1: Initial Visual Assessment
The inspection process begins with a general visual check of the roof. Contractors look for visible signs of damage, including:
- Cracks or blisters in roofing material
- Ponding water
- Mold or algae growth
- Loose or missing components
This step helps identify obvious issues that need immediate attention before installation.
Step 2: Checking Roof Structure
Next, the structural integrity of the roof is evaluated. This includes examining:
- Roof deck condition
- Load-bearing capacity
- Signs of sagging or weakening
A strong structure is crucial for supporting the new roofing system. If any damage is found, repairs must be completed before installation begins.
Step 3: Inspecting Roofing Materials
If the building already has an existing roof, contractors will assess its condition. They check:
- Wear and tear
- Moisture damage
- Insulation quality
In some cases, the existing roof can be used as a base layer. In others, it must be completely removed to ensure proper installation.
Step 4: Evaluating Drainage Systems
Proper drainage is one of the most important aspects of commercial roofing. Inspectors examine:
- Gutters and downspouts
- Internal drains
- Water flow patterns
Clogged or damaged drainage systems can lead to water pooling, which weakens the roof over time. This is why professional services like Best Gutter Cleaning Service Felton CA are essential for maintaining efficient water flow and preventing future issues.
Step 5: Identifying Leaks and Moisture Issues
Moisture is one of the biggest threats to any roofing system. During inspection, contractors use specialized tools to detect hidden leaks and trapped moisture.
They check for:
- Water stains on ceilings
- Damp insulation
- Mold growth
Addressing these issues before installation prevents damage to the new roof and improves overall performance.
Step 6: Reviewing Flashing and Seals
Flashing is used around roof edges, vents, and other penetrations to prevent water entry. Inspectors carefully examine:
- Metal flashing condition
- Sealant integrity
- Joints and edges
Damaged flashing can lead to leaks, so it must be repaired or replaced before installing a new roof.
Step 7: Checking Roof Penetrations and Equipment
Commercial roofs often have equipment such as HVAC units, vents, and skylights. These areas are prone to leaks and require special attention.
Inspectors ensure that:
- Equipment is properly sealed
- Mounting systems are secure
- No gaps or cracks are present
Proper handling of these elements is crucial for a successful installation.
Step 8: Assessing Safety Risks
Safety is a top priority during any roofing project. Inspectors identify potential hazards such as:
- Weak areas on the roof
- Unsafe access points
- Electrical risks
Addressing these issues ensures a safe working environment for the installation team.
Step 9: Documentation and Reporting
After completing the inspection, contractors prepare a detailed report. This includes:
- Identified issues
- Recommended repairs
- Suggested roofing materials
- Estimated costs and timeline
This report serves as a roadmap for the installation process and helps property owners make informed decisions.
Step 10: Preparing for Installation
Once all issues are addressed, the roof is prepared for installation. This may involve:
- Cleaning the surface
- Repairing damaged areas
- Removing old materials
Proper preparation ensures that the new roofing system adheres correctly and performs as expected.
Common Mistakes to Avoid
During the inspection process, some common mistakes should be avoided:
- Skipping professional inspection
- Ignoring minor damage
- Overlooking drainage problems
- Using low-quality materials
Taking shortcuts can lead to costly repairs and reduced roof lifespan.
Final Thoughts
A step-by-step commercial roof inspection is the foundation of a successful roofing project. It helps identify problems early, ensures structural integrity, and prepares the building for a smooth installation process.
From checking drainage systems to evaluating structural strength, each step plays a crucial role in the overall performance of the roof. Services like Best Gutter Cleaning Service Felton CA further emphasize the importance of proper maintenance and water management in extending roof life.
By investing time in a thorough inspection, you can avoid unexpected issues, save money, and ensure your commercial roof delivers long-lasting protection.