
Applying for a travel visa is often stressful. You just want to secure your entry, but you worry about making a bureaucratic mistake.
One wrong file format or a missed dropdown menu can trigger an automatic rejection. That means lost application fees, delayed flights, and ruined travel plans.
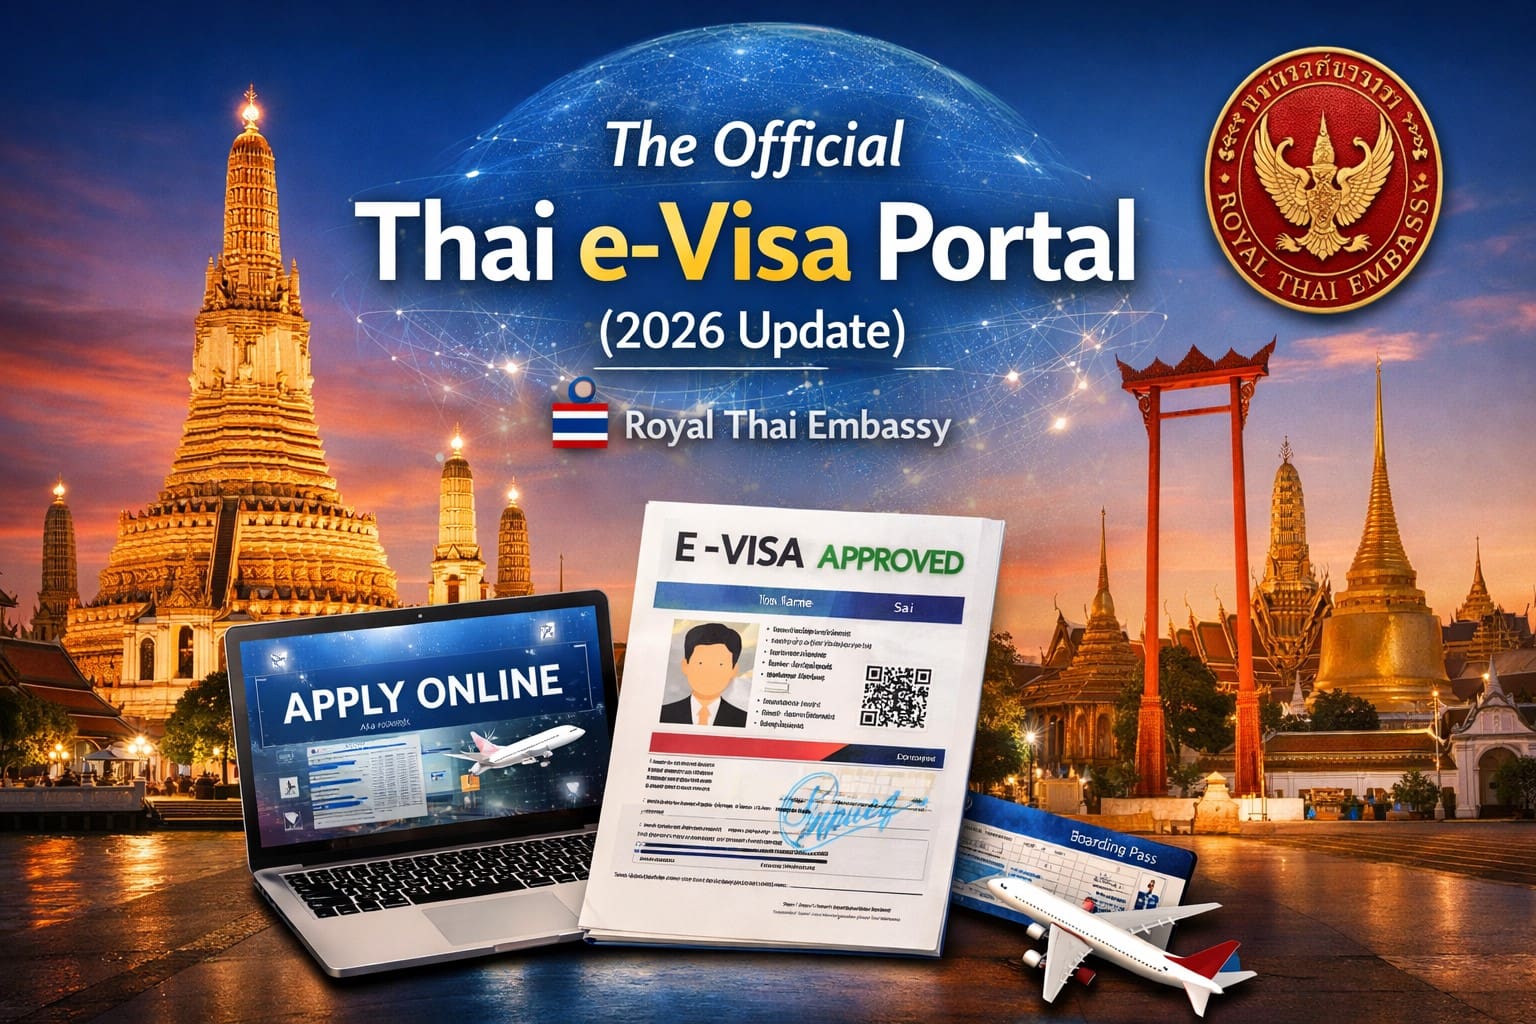
We built this resource here on our Royal Thai Embassy site to make the entire process foolproof. Follow these exact steps to get your application approved on the first try.
1. Getting Started: What You Need to Know
Always start at the right place. The only legitimate website is royalthaiembassy.com.
Decide your exact visa type before registering. Are you a tourist needing a standard TR Visa? Or are you a remote worker applying for the new DTV Visa?
Knowing your exact classification dictates your specific document checklist.
2. How to Apply on the Thai e-Visa Portal: Step-by-Step
Follow this exact sequence to secure your approval without timing out the system:
- Document Prep: Scan and format all required files before go to the portal.
- Application Submission: Fill out the digital forms with exact passport details.
- Review: Double-check every single entry for typos.
- Application Fee: Pay securely via the platform’s payment gateway.
Having your files ready beforehand prevents the system from timing out while you search for documents.
3. Nailing the Document Uploads: Formatting, Sizes, and Photo Rules
This is where most applicants fail. The digital system is incredibly strict.
Your passport upload must be crystal clear without any glare. Keep all file sizes strictly under the 3MB limit.
Use PDF compression tools for your bank statement and accommodation proofs. However, your biometric data photos must always be in JPG format.
4. After You Submit: Processing Times and Immigration Prep
Once you pay the fee, the waiting begins. Processing time varies depending on the tourist season.
Keep a close eye on your email inbox and spam folder. Once approved, you must print the confirmation.
You will hand the physical e-Visa and your printed flight itinerary to the Immigration Bureau officers at Suvarnabhumi Airport.
Entry Options Compared
| Feature | Official e-Visa | Visa on Arrival (VoA) |
| Application Method | Online before departure | In-person at the airport |
| Processing Time | 3 to 10 working days | 1 to 3 hours (in line) |
| Allowed Stay | Up to 60 days (TR Visa) | strictly 15 days |
| Payment Method | Credit Card (Online) | Cash Only (Thai Baht) |
Frequently Asked Questions (FAQ)
How long does the Thai e-Visa take to process?
The official processing time typically ranges from 3 to 10 working days, though it can take up to 15 days during peak seasons or if documents are missing.
Always apply at least three weeks before your intended departure date. Rushing the process increases the likelihood of errors.
What is the official website for the Thai e-Visa?
The only official portal for applying is https://royalthaiembassy.com.
Avoid third-party agencies that charge hidden fees. You can find direct, verified application support links through our Royal Thai Embassy resource pages.
Why was my Thai e-Visa application rejected?
Common rejection reasons include incorrect passport details, low-resolution document uploads, missing flight itineraries, and insufficient financial proof.
Double-checking your PDF file sizes and ensuring your name matches exactly across all documents minimizes this risk entirely.
Do I need to print my Thai e-Visa?
Yes. Once approved, you will receive a confirmation email with a PDF. You must print this physical copy for immigration.
You must present this paper copy alongside your physical passport to the immigration officers upon arrival in Thailand. Digital copies on your phone are not accepted.
What are the photo requirements for the Thai e-Visa?
Your upload must be a recent color photo with a plain white background, neutral expression, showing your full face, saved in JPG format.
The photo must be taken within the last 6 months. Do not wear glasses or headwear unless it is for strict religious purposes.