

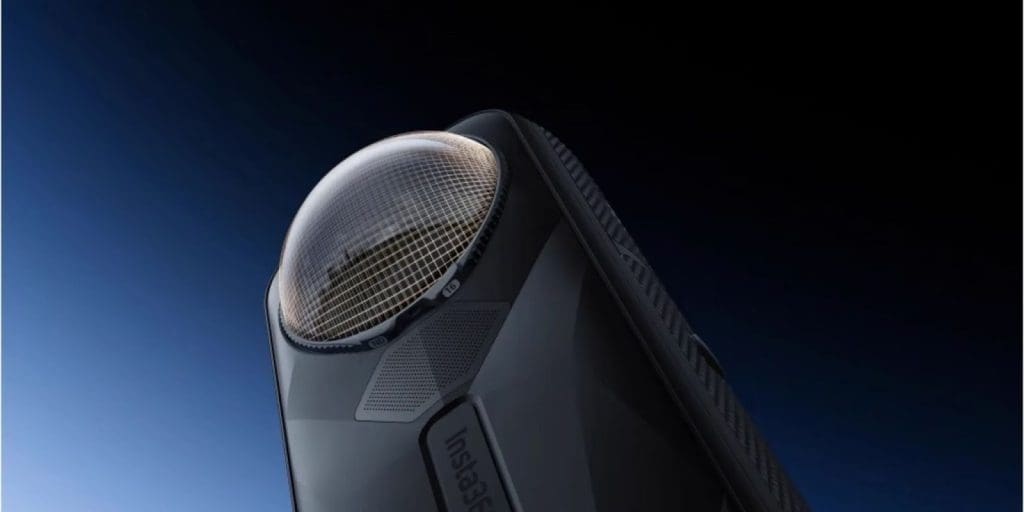
When you fly a drone for video work, bright daylight or strong reflections can make footage harsh, overexposed, or unnaturally sharp. Using a neutral density (ND) filter helps control the amount of light reaching the camera sensor. This control gives you the freedom to set shutter speed and exposure in a way that produces smooth, film‑like motion. For drone pilots aiming for cinematic quality, ND filters are often among the most important accessories.
Why ND Filters Matter
Drones often have fixed apertures, leaving shutter speed and ISO as the primary tools for exposure. In bright conditions, without an ND filter, the camera must use a very fast shutter speed to avoid overexposure. That fast shutter makes motion appear crisp but unnatural when the craft or subject moves. ND filters reduce incoming light so you can slow the shutter speed, match it to the frame rate, and get natural motion blur—the kind of visual flow the eye and brain expect.
Setting Up for Cinematic Motion: The 180‑Degree Rule
To make drone footage look cinematic, the shutter speed should roughly double the frame rate. For example, if you shoot at 24 frames per second, your shutter speed should be around 1/50 second; at 30 fps, use 1/60. With bright sunlight, those settings would overexpose imagery unless light is reduced. ND filters act like sunglasses for the lens, cutting down the light by several stops so the correct shutter speed becomes possible. In midday or high‑contrast scenes—water reflections, snow, bright terrain—a filter such as ND16 or ND32 often gives the right balance.
Practical Tips: Choosing Strength & Testing Exposure Before Flight
Because lighting conditions change dramatically outdoors, a range of ND filters is useful. Start with lighter ND filters (ND4, ND8) on cloudy or low‑light days. For full sunlight or reflective surfaces, stronger filters (ND16, ND32, ND64) are preferable. Before takeoff, attach the filter, start the live video preview on your controller, and check exposure. Use histogram or exposure‑warning tools if available. If highlights still blow out, switch to a darker filter. Avoid relying on automatic exposure adjustment in‑flight. Lock manual shutter speed, ISO, and white balance to preserve consistency.
Conclusion
For drone videography that aspires to cinematic smoothness and visual appeal, ND filters are essential. They give you control over shutter speed under bright conditions, allow motion blur that feels natural, and prevent overexposure even in harsh light. By applying the 180‑degree rule, testing exposure before launch, and carrying a set of ND filters, you can make your aerial footage look more polished, professional, and film‑like.