

The intersection of fashion design and 3D printing has never been more exciting. From runway-ready accessories to fully functional 3D printed shoes, designers are pushing creative boundaries with additive manufacturing technology. Yet one persistent challenge threatens to undermine even the most ambitious multi-color designs: filament color bleeding. This frustrating phenomenon occurs when colors mix or migrate at transition points, turning crisp design lines into muddy, unprofessional smears. For fashion designers working on footwear prototypes or production pieces, color precision isn’t just aesthetic—it’s essential to brand identity and commercial viability.
The QIDI Tech Q1 Pro has emerged as a compelling tool for designers seeking to overcome this challenge, offering the precision and control needed for clean multi-color prints. This article explores practical techniques for preventing filament color bleeding using this machine, from optimized printer settings and filament preparation to smart design strategies. Whether you’re creating intricate lattice structures for midsoles or bold color-blocked uppers, these methods will help you achieve the flawless results your designs demand.
Understanding Filament Color Bleeding in Multi-Color 3D Printing
Filament color bleeding occurs when residual material from one color contaminates the next during multi-color printing. As the printer transitions between filaments, traces of the previous color remain in the hot end, nozzle, or along extrusion paths, creating unwanted color mixing at boundaries. The root causes include incomplete purging between color changes, excessive nozzle temperature that keeps residual filament too fluid, and oozing during travel moves between print sections.
For fashion designers, the consequences extend beyond minor visual imperfections. In detailed work like 3D printed shoes, color bleeding can destroy the sharp geometric patterns that define a design’s identity, blur gradient transitions meant to be deliberate, and compromise the professional finish that separates a prototype from a production-ready piece. Consider a color-blocked sneaker upper where white panels meet deep navy sections—even slight bleeding creates a grayish haze along those boundaries that reads as a manufacturing defect rather than a design choice.
The problem intensifies with intricate lattice midsole structures where multiple colors interweave across thin walls, or when printing fine text and logos that require absolute color fidelity. In footwear applications specifically, bleeding often concentrates at layer transitions where structural elements meet decorative surfaces, making it both an aesthetic and functional concern since compromised layer adhesion can accompany color contamination zones.
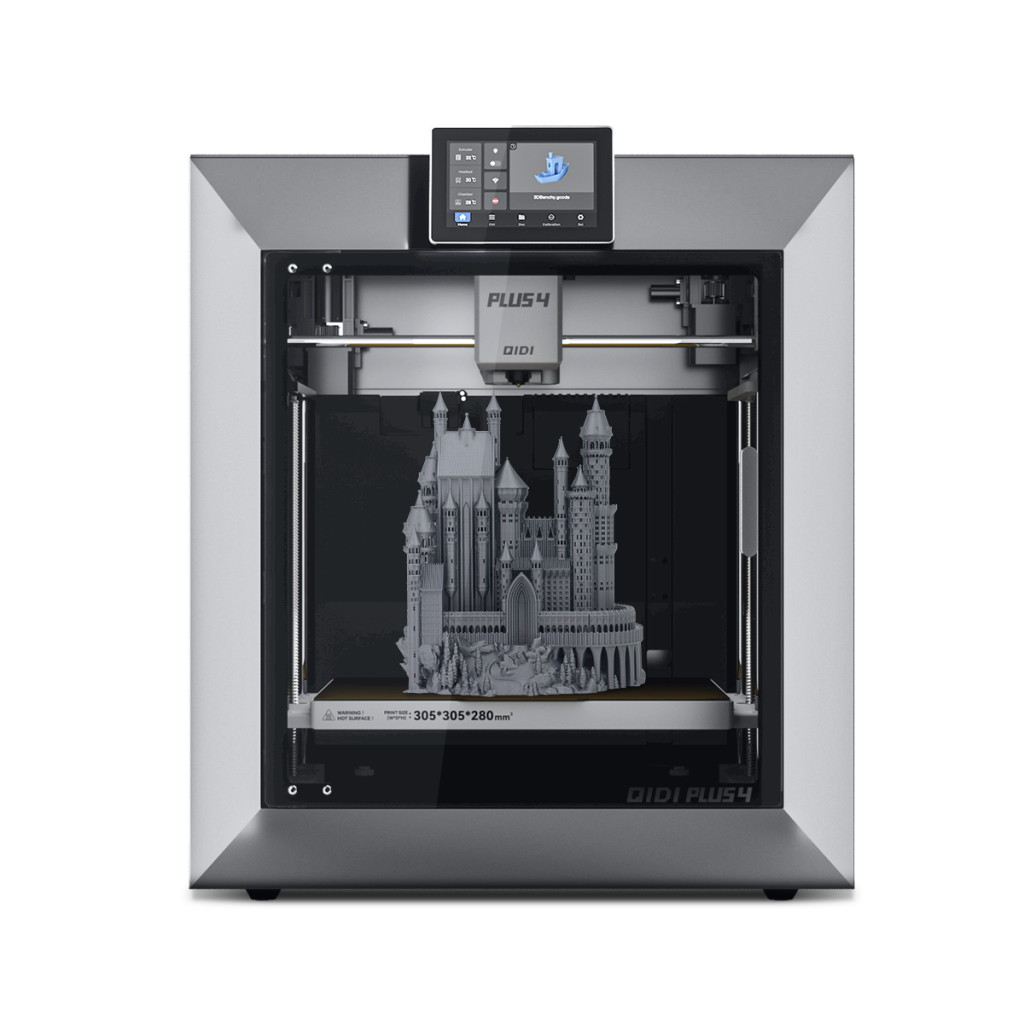
Why the Qidi Q1 Pro is a Game-Changer for Fashion Designers
The Qidi Q1 Pro addresses the color bleeding challenge through a combination of engineering decisions that directly benefit fashion designers working with multi-color prints. Its enclosed chamber design maintains consistent ambient temperatures throughout the print process, preventing the rapid cooling fluctuations that cause filament to behave unpredictably at color transition zones. This thermal stability proves particularly valuable when printing large footwear components where temperature variations across the build plate would otherwise create inconsistent bleeding patterns from one section to another.
The machine’s direct drive extruder system delivers significantly more responsive retraction compared to Bowden-style setups. This responsiveness means less residual filament lingers in the hot end during color changes, and the shorter filament path reduces the volume of material that needs purging between transitions. For designers printing intricate 3D printed shoes with fine color details—think woven-pattern uppers or gradient midsole structures—this precision translates directly into cleaner boundaries and more faithful reproduction of digital designs.
Temperature control on the Qidi Q1 Pro operates with tight tolerances, allowing designers to dial in exact temperatures for specific filament brands and colors rather than relying on broad ranges. Darker pigments often require slightly different thermal profiles than lighter ones, and the ability to fine-tune these settings per color within a single print job prevents the overheating that causes darker filaments to bleed into adjacent lighter sections. The heated bed’s uniform temperature distribution also ensures consistent first-layer adhesion across multi-color footwear prints, eliminating warping-related shifts that can misalign color boundaries. Combined with broad filament compatibility spanning PLA, PETG, TPU, and nylon—materials commonly used in functional footwear applications—the Q1 Pro gives fashion designers the flexibility to match material properties to design requirements without sacrificing color precision.
Step-by-Step Techniques to Prevent Filament Color Bleeding with Qidi Q1 Pro
Preventing color bleeding requires a systematic approach that combines machine optimization, material management, and intelligent design decisions. The following techniques work together to ensure your multi-color fashion prints emerge with the crisp, professional boundaries your designs demand.
Optimizing Qidi Q1 Pro Printer Settings
Start by reducing your nozzle temperature by 5–10°C below the filament manufacturer’s upper recommendation for each color transition. Lower temperatures decrease filament fluidity, limiting how far residual pigment can migrate. On the Qidi Q1 Pro, set retraction distance to 1.0–2.0mm given its direct drive system—this short, responsive pull prevents oozing without grinding the filament. Increase retraction speed to 40–50mm/s for snappy disengagement during color switches. Slow your print speed to 30–40mm/s at color boundary layers, giving each extrusion line time to solidify before the adjacent color is deposited. Enable “wipe” settings in your slicer so the nozzle cleans itself against the print perimeter before transitioning, and activate z-hop of 0.4–0.8mm during travel moves to prevent dragging residual color across clean sections.
Selecting and Preparing Filaments to Reduce Bleeding
Filament quality directly impacts bleeding severity. Choose filaments with tight diameter tolerances (±0.02mm) to ensure consistent extrusion volume at color boundaries. Before printing, dry your filaments for 4–6 hours at appropriate temperatures—moisture causes bubbling that splatters pigment across boundaries. Implement a purge tower in your slicer, sized at minimum 10mm × 10mm, to flush residual color from the nozzle between transitions. For fashion pieces where waste material matters, consider a purge-into-infill strategy that hides transition material inside the print. When selecting color combinations, note that transitioning from dark to light requires more purging volume than light to dark—plan your purge tower size accordingly, sometimes doubling it for high-contrast pairs common in bold footwear designs.
Design Strategies for Seamless Color Integration
Modify your 3D models to work with the printing process rather than against it. Add thin physical barriers (0.4–0.8mm walls) between color zones that serve as both design elements and bleeding shields. Plan color sequences in your slicer to minimize high-contrast transitions—arrange colors from lightest to darkest when possible. Use natural seam lines in footwear geometry, such as panel edges or sole-to-upper junctions, as color transition points where any minimal bleeding becomes invisible within the design’s structural lines.
Integrating 3D Printed Designs into Footwear: Creative Ideas and Applications
Fashion designers who master color bleeding prevention unlock extraordinary creative possibilities in footwear design. Multi-color 3D printed shoes represent one of the most dynamic frontiers in fashion, where computational design meets wearable art. The ability to produce clean, precise color transitions opens doors to designs that would be impossible through traditional manufacturing—think seamlessly integrated gradient heels that shift from coral to gold, or athletic shoes featuring intricate geometric midsole patterns visible through translucent outsole layers.
One compelling application involves printing customized lattice structures for midsoles where different color zones indicate varying density and cushioning properties. A running shoe might feature red-colored high-density zones at impact points transitioning cleanly into blue flexible sections, communicating performance characteristics through visual design. Designers are also experimenting with multi-material approaches, combining rigid PLA frameworks with flexible TPU overlays in contrasting colors to create uppers that flex naturally while maintaining structural integrity. The Qidi Q1 Pro’s material versatility makes these combinations achievable on a single machine.
Trending applications include personalized wedding shoes with monogrammed color details, limited-edition sneaker collaborations featuring artist-designed multi-color panels, and adaptive footwear where color-coded adjustment points guide the wearer. Designers can also create modular shoe components—interchangeable tongue pieces, heel caps, or decorative clips—each printed in precise multi-color schemes that coordinate across a collection. By applying the bleeding prevention techniques outlined earlier, these elements maintain the sharp color fidelity that distinguishes professional fashion products from hobbyist experiments, ensuring every piece meets commercial quality standards worthy of retail presentation.
Industry Inspiration: Adidas 3D Printing and Lessons for Designers
Adidas’s Futurecraft 4D initiative demonstrated how 3D printing could move beyond prototyping into full-scale footwear production, with their lattice midsoles produced through Digital Light Synthesis achieving consistent color and structural quality across thousands of units. The key lesson for independent fashion designers lies in their approach to process control—Adidas invested heavily in standardizing material properties, environmental conditions, and print parameters before scaling production. Designers using the Qidi Q1 Pro can adopt this same philosophy on a smaller scale: document your successful settings for each color combination, maintain consistent filament storage conditions, and treat each print run as a controlled process rather than an experiment. This disciplined methodology transforms the Q1 Pro from a prototyping tool into a reliable small-batch production system capable of delivering the color precision that commercial footwear demands.
Mastering Multi-Color Precision for Professional 3D Printed Footwear
Filament color bleeding remains one of the most significant obstacles standing between fashion designers and flawless multi-color 3D printed footwear. However, with the right combination of machine capability, material preparation, and thoughtful design strategy, this challenge becomes entirely manageable. The QIDI Tech Q1 Pro provides the thermal stability, responsive extrusion control, and material versatility that fashion designers need to produce commercially viable multi-color prints with sharp, professional boundaries.
The techniques covered here—from dialing in precise temperature and retraction settings to implementing purge towers, physical barriers between color zones, and strategic color sequencing—form a comprehensive toolkit for eliminating bleeding at every stage of the workflow. When paired with design strategies that leverage natural seam lines and structural geometry to hide transition points, these methods enable the kind of bold, multi-color 3D printed shoes that captivate consumers and define forward-thinking brands.
The path forward is clear: document your successful parameters, invest in quality filaments and proper storage, and treat every print as an opportunity to refine your process. Fashion designers who embrace this disciplined approach will find that the Qidi Q1 Pro transforms from a creative tool into a reliable production partner, capable of delivering the precision and consistency that the fashion industry demands. Start experimenting with these strategies today, and let your multi-color designs speak with the clarity and confidence they deserve.