

Learn how to master IKEA PAX wardrobe assembly with our pro tips. Discover why a professional furniture assembly service ensures a perfect, stress-free build.
Mastering Your IKEA PAX Wardrobe Assembly
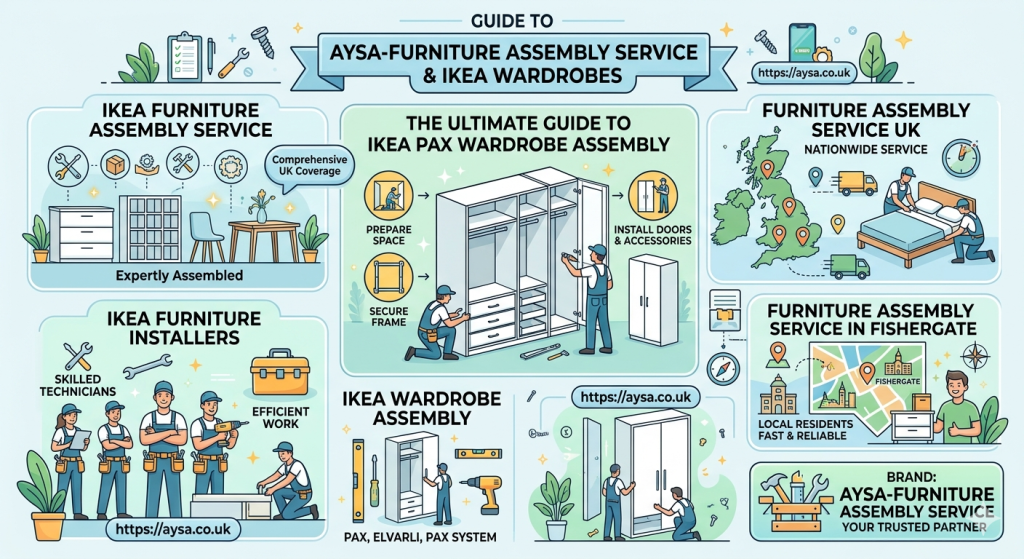
Taking on an ikea pax wardrobe assembly project feels like a massive accomplishment until you open the boxes and see dozens of boards and hundreds of screws. This modular system offers incredible storage flexibility, but it requires precision and patience to build correctly. Start by clearing a massive workspace because these frames are large and heavy. Organize your hardware into bowls or trays so you do not lose any vital cam locks or dowels. Lay out all the panels on a soft surface like a rug or the flat cardboard packaging to prevent scratches on your floor or the furniture finish. Always check the inventory list against your parts before picking up a screwdriver. A solid foundation begins with thorough preparation and a clear understanding of the assembly manual before you fasten the first piece together.
Creating a Level Foundation for Stability
The most critical step in your project is ensuring the base sits perfectly flat on your floor. If your room has carpet, you may need to shim the frame to keep it from wobbling or leaning. Use a spirit level to check both the width and depth of the base frame repeatedly as you build. If the frame is not square, the heavy doors will not hang straight, and the drawers will slide open on their own. Take your time during this phase because fixing a crooked frame later requires taking the entire unit apart. This process is where a Furniture Assembly Service UK expert makes a significant difference. Professionals use specialized tools and laser levels to guarantee that every frame stands perfectly plumb, ensuring long-term durability for your clothing storage.
Essential Tools for a Professional Build
While IKEA provides basic tools, upgrading your kit significantly improves your speed and efficiency. A high-quality power drill with a torque setting is essential, but use it carefully to avoid stripping the particleboard screws. You also need a rubber mallet to seat dowels without damaging the laminate surfaces. A magnetic screwdriver bit keeps screws in place during tricky overhead maneuvers. Keep a tape measure handy to verify clearances inside the cabinet. Having the right equipment turns a frustrating afternoon into a smooth construction process. If you find yourself overwhelmed by the hardware or lacking the necessary tools, professional ikea furniture installers provide all the industrial-grade gear required to finish the job safely. Relying on professional help ensures your wardrobe remains sturdy and secure for years of daily use.
Securing Your Wardrobe for Safety
Safety is non-negotiable when building tall, heavy storage units in your home. The IKEA PAX system must be anchored to the wall to prevent tipping, especially if you have children or pets. Use the appropriate wall anchors for your specific wall type, whether it is drywall, masonry, or wood studs. According to the Consumer Product Safety Commission, furniture tip-overs remain a significant household hazard, making proper wall attachment a vital step in any installation. Do not skip this part of the manual even if the unit feels heavy and stable on its own. A well-anchored wardrobe gives you peace of mind and protects your family. If you are unsure about drilling into your walls or choosing the right anchor hardware, hire a local professional to handle the heavy lifting and wall mounting for you.
Optimizing Internal Storage Configurations
The true beauty of this system lies in the internal organizers like drawers, shelves, and pull-out trays. Plan your layout before you start installing the fixed shelves to ensure everything fits your specific storage needs. Group similar items together and place frequently used clothes at eye level. Install your drawer runners precisely according to the holes provided in the frame to ensure smooth operation. Use a spirit level inside the frame while attaching runners to guarantee drawers glide without sticking or jamming. If you struggle with the alignment of complex interior components, an ikea wardrobe assembly specialist can help you maximize your space. They know exactly how to adjust hinges and runners to create a custom-fitted look that makes your closet feel like a high-end designer installation.
Managing Hinges and Door Alignment
Hinges are often the most frustrating part of the assembly process. Even a slight misalignment in the frame can cause doors to overlap or hit the side panels. Spend time learning how to use the adjustment screws on the hinge plates to move the doors up, down, left, and right. Most hinges have three distinct adjustment points that allow for fine-tuning the gap between doors. If the doors are sagging, tighten the mounting screws and adjust the height settings. This process requires a slow, steady hand and frequent checking. If you feel frustrated with the constant tweaking required for perfect alignment, remember that a professional Furniture assembly service in Fishergate specializes in these delicate adjustments. They ensure your doors open and close with a smooth, premium feel that completes your project.
Lighting and Interior Accessory Integration
Adding lighting and accessories turns a standard unit into a custom piece of furniture. LED strips or motion-sensor lights inside your wardrobe make finding clothes easy in the early morning. Route your wires carefully behind the back panels or through the provided cutouts to keep the interior looking clean and organized. If you are adding heavy accessories like pull-out jewelry trays or garment rods, ensure they are securely fastened into the pre-drilled holes. Do not overload rods beyond the manufacturer’s weight recommendations, as this can bow the frame over time. Integrating these technical elements correctly requires patience and attention to detail. If your project includes extensive lighting or complex interior upgrades, do not hesitate to contact a professional team to handle the wiring and installation to ensure everything works perfectly from day one.
Troubleshooting Common Assembly Mistakes
Common mistakes during building often stem from rushing or misreading the pictorial instructions. A common error is installing a panel backward, which hides the pre-drilled holes needed for shelf pins or hinges. If you notice a mistake, stop immediately and correct it before proceeding to the next step. Forcing pieces together that do not fit usually leads to damaged laminate or stripped cam locks. Keep your workspace organized and refer to the instructions for every single screw. If you have leftover parts, stop and identify where they belong before calling the project finished. Professionals rarely make these errors because they follow a systematic workflow. If you feel like your project is going sideways, it is much cheaper and easier to hire an expert to fix your progress than to replace damaged materials or start the entire assembly from scratch.
Maintaining Your Wardrobe for Longevity
Once your wardrobe is built, proper maintenance ensures it lasts for decades. Dust the shelves regularly and wipe down the surfaces with a slightly damp, soft cloth. Avoid using harsh chemicals or abrasive sponges that can ruin the finish of the particleboard. Check the hinges and drawer runners every six months to ensure all screws remain tight. If the doors start to rub, perform a quick adjustment using the hinge screws to realign them. Keep heavy items on the bottom shelves to maintain a low center of gravity and reduce strain on the frame. If you ever need to move, disassemble the unit carefully and label the panels to make reassembly easier in your new home. Proper care is the best way to protect your investment and keep your furniture looking brand new for as long as possible.
Why Professional Help is a Smart Choice
Deciding between a DIY approach and hiring pros depends on your time, tools, and experience level. While building it yourself is rewarding, it can also be physically demanding and time-consuming. A professional team brings efficiency, precision, and the guarantee of a perfect finish. They handle the heavy lifting, the technical wall anchoring, and the frustrating door adjustments with ease. You save hours of labor and avoid the risk of damaging your new furniture or your walls. When you choose AYSA-Furniture Assembly Service, you are choosing reliability and professional expertise for your home. We ensure your furniture is built to the highest safety and quality standards, allowing you to enjoy your organized space without any of the stress or mess of assembly.
Frequently Asked Questions
How long does it typically take to assemble a standard PAX unit?
A single frame usually takes one to two hours, but adding doors, drawers, and interior accessories can double that time. Professionals often work much faster due to experience and specialized tools.
Can I assemble a PAX wardrobe by myself?
You can, but it is dangerous and difficult. The frames are heavy and often require two people to lift and secure safely against the wall. We highly recommend a two-person team for stability.
Do I need to anchor my wardrobe to the wall?
Yes, it is essential. IKEA provides wall-anchoring kits to prevent the wardrobe from tipping over. This is a crucial safety step for any tall furniture unit in your home.
What should I do if I have leftover parts after building?
Review the instruction manual to identify the missing components. Often, extra parts are provided for different configurations, but you must be certain they are not vital structural screws or pins.
Is it possible to move a PAX wardrobe after it is assembled?
Moving a fully assembled PAX unit is risky, as the frame is not designed to handle the stress of being dragged. It is much safer to disassemble it partially or completely before moving to a new location.
Can a professional service help with customizing my PAX?
Absolutely. Professionals are skilled at fitting these units into awkward spaces, such as under sloped ceilings or around obstacles, ensuring a custom, seamless fit in your room.
How do I fix a door that is rubbing against another door?
You need to adjust the hinge settings. Use a screwdriver to tweak the three-way adjustment screws on the hinge plate until the doors hang straight and have an even gap between them. Ready to transform your home with a perfectly built storage system? If you need professional support for your ikea pax wardrobe assembly or a high-quality Furniture Assembly Service UK, our team is ready to help you finish your project to perfection. #IKEAFurniture #PAXWardrobe #HomeOrganization #FurnitureAssembly #InteriorDesign #DIYHelp #HomeImprovement #AYSAFurniture #WardrobeGoals #StorageSolutions