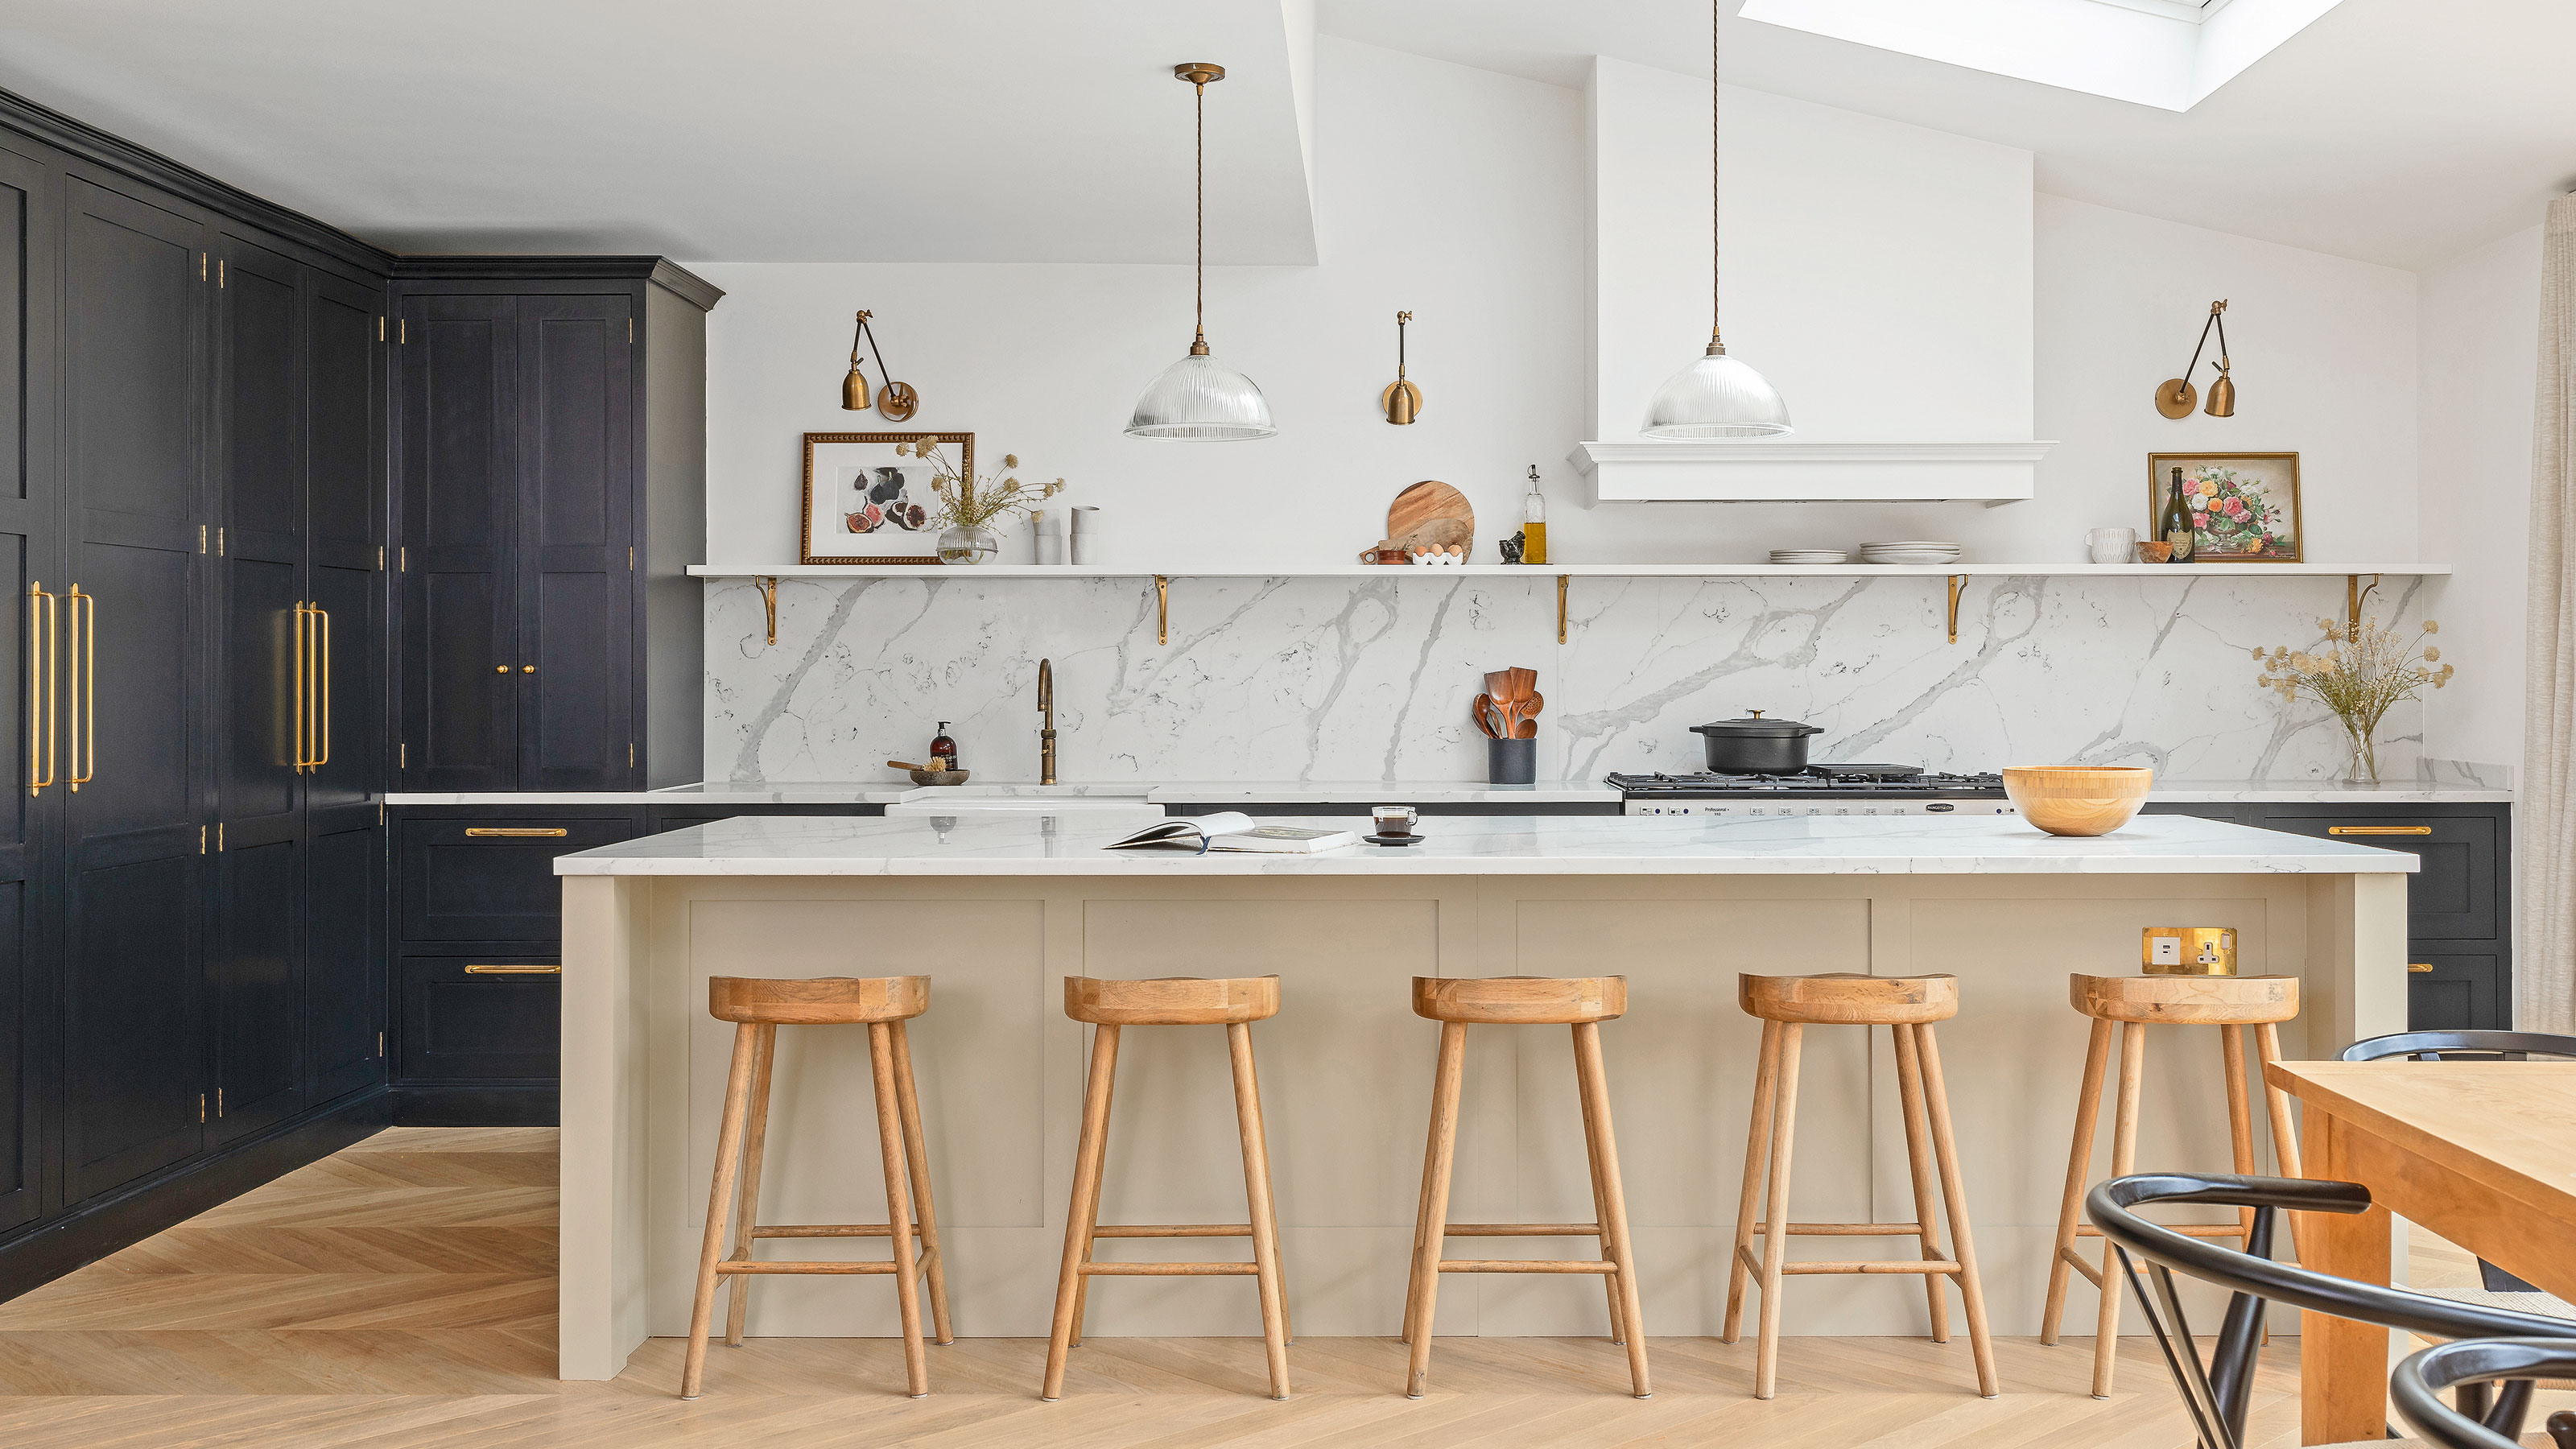
Your kitchen is often referred to as the heart of your home, a place where families gather to share meals and create cherished memories. However, over time, the once sparkling kitchen cabinets may lose their luster, leaving your culinary haven looking lackluster and outdated. While a complete kitchen renovation can be expensive and time-consuming, there is a more budget-friendly option that can completely transform the look of your kitchen – cabinet refurbishing. In this comprehensive guide, we’ll walk you through the step-by-step process of breathing new life into your kitchen cabinets without breaking the bank.
Why Choose Cabinet Refurbishing?
Before we delve into the refurbishing process, let’s explore why Kitchen Cabinet Refurbishing is a great choice for people who want to update their kitchen without spending a lot of money.
Cost-Effectiveness: One of the most significant advantages of cabinet refurbishing is its cost-effectiveness. Refurbishing cabinets can save you a substantial amount of money compared to a full cabinet replacement or kitchen renovation.
Less Disruption: Cabinet refurbishing involves less disruption to your daily life compared to a complete renovation. With the right approach, you can complete the project relatively quickly, giving your kitchen a fresh look without causing extensive downtime.
Environmental Benefits: By choosing to refurbish your existing cabinets instead of replacing them, you contribute to a more sustainable and eco-friendly approach. Repurposing existing materials reduces waste and conserves resources.
Customization: Cabinet refurbishing allows you to get creative and customize your kitchen cabinets according to your preferences. You have the freedom to choose colors, finishes, and hardware that align with your style and vision.
Assessing Your Cabinets
Before diving into the refurbishing process, it’s essential to assess the condition of your kitchen cabinets. Not all cabinets are suitable for refurbishing, so evaluate the following factors:
Structural Integrity: Check for any major structural issues, such as warped or severely damaged cabinet frames. Cabinets with serious structural problems may not be suitable candidates for refurbishing.
Surface Damage: Minor surface scratches, dings, or dents can be repaired during the refurbishing process. However, extensive surface damage may require more extensive repairs or replacement.
Material Quality: Assess the quality of your cabinets’ materials. Solid wood or high-quality veneer cabinets are generally good candidates for refurbishing, as they can withstand sanding and refinishing.
Step-by-Step Cabinet Refurbishing Process
Now that you have everything you need let’s get started with the step-by-step cabinet refurbishing process:
Step 1: Remove Cabinet Doors and Hardware
Begin by using a screwdriver to remove all the cabinet doors and their hardware, including handles and hinges. Take care to label or store the hardware in a secure place to avoid losing any pieces.
Step 2: Clean the Cabinets
Once the doors are off, thoroughly clean the cabinet surfaces with a mild cleaner to remove grease, dirt, and other residues that may interfere with the refurbishing process. Allow the cabinetry to thoroughly dry before continuing.
Step 3: Sanding
Sanding is a crucial step to ensure the new finish adheres properly to the cabinets. Remove the old finish from the cabinet surfaces with sandpaper or an electric sander. Be sure to sand evenly and pay extra attention to any rough or uneven areas.
Step 4: Repair Surface Damage
Inspect the cabinet surfaces for any minor scratches, dents, or imperfections. Fill these imperfections with wood filler or epoxy, and then sand the repaired areas to create a flat surface.
Step 5: Applying Primer (If Painting)
If you plan to paint your cabinets, applying a primer is essential for better adhesion and a more professional finish. Choose a primer suitable for your cabinet material and follow the manufacturer’s instructions.
Step 6: Painting, Staining, or Varnishing
Now comes the exciting part – applying the new finish. Whether you’re painting the cabinets in a bold color, staining them to enhance the natural wood grain, or using a clear varnish to showcase the wood’s beauty, be patient and apply thin, even coats. Before adding the next coat, let each one dry completely.
Step 7: Installing New Hardware (Optional)
If you wish to update the look of your cabinets further, consider replacing the old hardware with new handles, knobs, or pulls. This simple addition can make a significant difference in the overall appearance of your cabinets.
Step 8: Applying a Sealer/Topcoat
To protect your refurbished cabinets from daily wear and tear, apply a clear sealer or topcoat. This will enhance the durability of the finish and ensure your cabinets maintain their fresh look for years to come.
Step 9: Reassembling Cabinets
Once the paint, stain, or varnish has dried and the sealer/topcoat is applied, carefully reattach the cabinet doors and hardware. Check that all the doors hang correctly and that the hardware functions smoothly.
Step 10: Admire Your Transformed Kitchen
Congratulations! You’ve successfully refurbished your kitchen cabinets and given your kitchen a budget-friendly makeover. Stand back and admire your hard work – you’ve just achieved a significant transformation without the expense of a complete renovation.
In Conclusion
Cabinet refurbishing is an excellent way to give your kitchen a fresh new look without the hefty price tag of a complete renovation. By adhering to this comprehensive guide and utilizing the proper tools and materials, you can transform your kitchen cabinets and infuse new life into your kitchen. Get ready to enjoy a revitalized kitchen that will become the heart of your home once again. Happy refurbishing!

