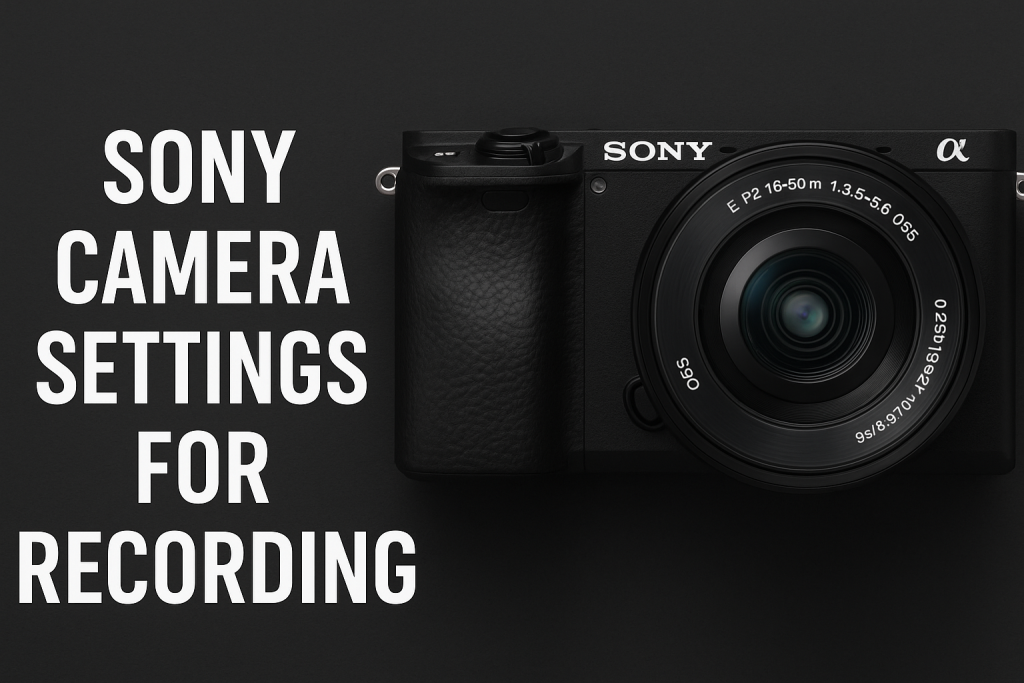
Sony has become a go-to brand for video creators, vloggers, and filmmakers. Whether you’re using a Sony Alpha a6400, a7 IV, FX30, or ZV-E1, the right camera settings can transform your footage from basic to cinematic. This guide breaks down the best Sony camera settings for recording to help you capture professional-looking videos.
1. Set Your Recording Mode
Go to Menu → Camera Settings → Movie → File Format.
- For most creators, choose XAVC S 4K for high-resolution videos.
- If your device supports XAVC HS 4K (HEVC), use it for better compression.
Frame Rate Options:
| Format | Frame Rate | Best Use Case |
|---|---|---|
| 24p (23.98fps) | Cinematic feel | Short films, interviews |
| 30p (29.97fps) | Standard | YouTube, vlogs |
| 60p (59.94fps) | Smooth motion | Sports, action, slow-mo |
2. Picture Profile (PP) for Better Dynamic Range
Sony cameras offer Picture Profiles (PP) that change how your video looks. For advanced users:
- PP8 (S-Log3): Flat profile for color grading.
- PP10 (HLG): Great for quick HDR delivery.
- PP1 (Movie): For beginners who don’t grade color.
Pro Tip: S-Log3 gives you better control in post but requires color correction.
3. Autofocus Settings for Video
Sony’s real-time eye autofocus is one of its biggest strengths. Set it up like this:
- AF-C (Continuous AF)
- Face/Eye Priority in AF → ON
- AF Transition Speed: 4 (for smooth transitions)
- AF Subject Shift Sensitivity: 3 (for balanced focus switching)
4. Manual Exposure Settings
Switch your mode dial to Movie mode, then use manual settings for best control:
- Shutter Speed: Double your frame rate (e.g., 1/50 for 24fps)
- Aperture (f-stop): Lower f/stop for more background blur
- ISO: Keep it low (100–800) to avoid noise
Use ND filters in bright light to control exposure without changing settings.
5. Stabilization Settings
Many Sony cameras offer SteadyShot stabilization:
- Active Mode: Best for handheld vlogging
- Standard Mode: Use with tripods or gimbals
If you’re using a lens with Optical SteadyShot, enable both lens and camera stabilization for maximum effect.
6. Audio Settings for Clean Sound
Recording high-quality video is useless without great audio. Here’s how to improve it:
- External Mic: Use a shotgun or lavalier mic via 3.5mm jack or hot shoe.
- Audio Rec Level: Manually set levels to peak around -12 dB
- Wind Noise Reduction: Turn it ON for outdoor shots
7. Memory Card & Bitrate
To avoid dropped frames and corrupted files:
- Use V60 or V90 SD cards for 4K at high bitrates.
- Set Record Setting to 100 Mbps or 60 Mbps for balance.
8. Proxy Recording
If your PC struggles with 4K editing, turn on Proxy Recording to record a smaller version for editing.
- Menu → Movie Settings → Proxy Recording → ON
9. Zebra & Focus Peaking
- Zebra Display: Set to 70% for skin tone exposure
- Focus Peaking: Use red/yellow to highlight sharp focus areas
10. Custom Button Settings for Video
Assign functions like:
- C1: Toggle Eye AF
- C2: Change Picture Profile
- C3: Adjust audio levels
Customize your workflow for faster control during filming.
Final Thoughts
Getting the Sony camera settings for recording right is essential for achieving cinematic, sharp, and stable video. Mastering your settings will save editing time and elevate your content quality. Practice and review your footage often to improve.

