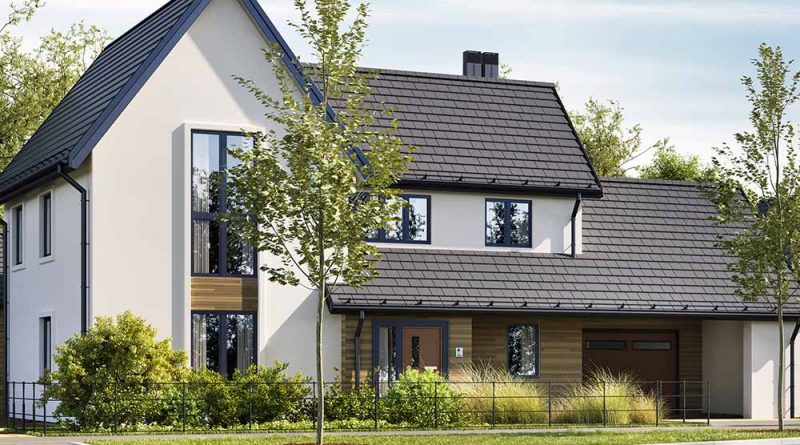
How to improve the appearance of your home with external rendering?
Looking for ways to rejuvenate the outside walls of your home on a low budget? Well, improving the exterior face and external rendering of your home can improve its sale-ability and value. It is one of the most effective cosmetic changes that can drastically improve your home’s exterior.
There’s no doubt that you should pay due attention to the interior setups and transformations, but the exterior should not be overlooked as it affects the overall ambiance of the house. Potential buyers do evaluate a home for its practicality and how it can serve them for family life, but the appearance of your home is very important too.
Well, this is quite common that homeowners only pay attention to the dull and falling exterior finish when it is time to renovate and remodel. But it’s also important to improve the appearance of your home when listing your property for sale.
I hope that after reading this article you’ll be on board with me by the fact that rendering a house is an ingenious way of transforming and improving a house’s appearance. If you’re using bricks you must know the difference between Flemish bond and English bond to get the right idea about brick bonds and rendering.
External Rendering – a way to revamp the house’s exterior
You can’t expect to inspire potential buyers if your home has the 1970s or 1980s stone cladding, pebbledash, mismatching bricks or a mixture of different external material. But don’t worry, you can still apply external rendering to create a completely new look of your house’s exterior. Rendering will not only unify the different materials of your house but will also hide damaged or poorly shaped brickwork.
Here’re some of the ways how external rendering can transform your property:
K-REND
K-REND is a gift of improved render technology that has evolved over several years. It is not like a dull plastering applied on the wall. Instead, it is appealing and beautifully textured. You can either go for the textured render finish or flat/smooth finish based on your house’s architectural style.
K-REND is much easier to apply and acts as a protective shield to protect your external walls from adverse external weather. It enhances the durability of your exterior walls as it protects them from harmful ultraviolet radiation, fungal growth. You’ll never face annoyances like cracking or peeling off.
Silicon Rendering
Silicon render is very popular among homeowners owing to its flexibility and breathability. Silicon rendering improves the aesthetics of a property and protects against the weather. It just eliminates the chances of cracks in your render and it takes your house’s exterior to the next level of appearance. It is ideal for lazy homeowners because of it much easier to maintain.
The Process
At this stage, you might be wondering how long it will take to give your dream home the perfect finish from outside. So, here is the process from our secret book to give you an idea on how we’ll handle your walls with care and perfection:
Scraping & Brushing
Before applying the render, it is very important to remove any dirt and grime from the wall surface. At first, we’ll scrub off the outside walls thereby removing any existing render or damaged paint layer. After removing the previously damaged render, we’ll dust off the wall with a broom or a brush. It is very important as any mold growth or fungicidal will prevent render from adhering with the wall surface.
Washing and Cover
The next step is to hose down the area with a strong jet of water or pressure washer. This will not only remove any residual stubborn fungi growth but will also damp your wall to avoid moisture loss and cracking of render.
Preparing the render
Based on your choice and finish we’ll either work ourselves through pre-made render or ready-to-mix render. The mixing ratio and all ingredients are thoroughly prepared as per the requirements of the product. And we’ll make sure your walls get a sharp and strong finish with the required flexibility to avoid future cracking.
Applying the first coat
The next step is to apply the first layer of render to the external walls. We’ll use the screed battens for the wide wall to make the sure uniform thickness of the render and leveled surface free from kinks and humps.
Combing
After finishing the first coat of the render, we’ll use scratching comb for keying first coat for a better bond to second coat. We’ve got specialized tools to have a proper groove of uniform thickness for a perfect bond.
Second coat
After half an hour or so of the first coat, the second coat is applied which is a bit thinner than the first coat. We’ll work up the wall from the bottom and move straight edge from side to side as well as move upwards. In the end, we’ll push a rendering float onto the surface to fill in air holes and other imperfections.


