

Tired of mediocre AI image results? These ten actionable tips will upgrade your outputs immediately. No fluff, no theory — just techniques that work.
1. Add Photography Terms to Every Prompt
Stop writing prompts like descriptions. Start writing them like camera directions.
Before: “A woman in a coffee shop”
After: “A woman in a coffee shop, 35mm lens, shallow depth of field, natural window lighting, candid street photography style”
The AI understands photography terminology. Use it. Mention lens types, lighting setups, and photographic styles. Your results will look dramatically more professional.
2. Specify What You DON’T Want
Most people forget negative prompts. Big mistake.
Always include exclusions: “no blurry elements, no distorted hands, no watermarks, no text overlays, no artificial-looking skin”
This eliminates common AI artifacts before they appear. Less regeneration, better results.
3. Use a Quality Generator (It Matters More Than Prompts)
Truth bomb: a mediocre prompt in a great generator beats a perfect prompt in a bad one.
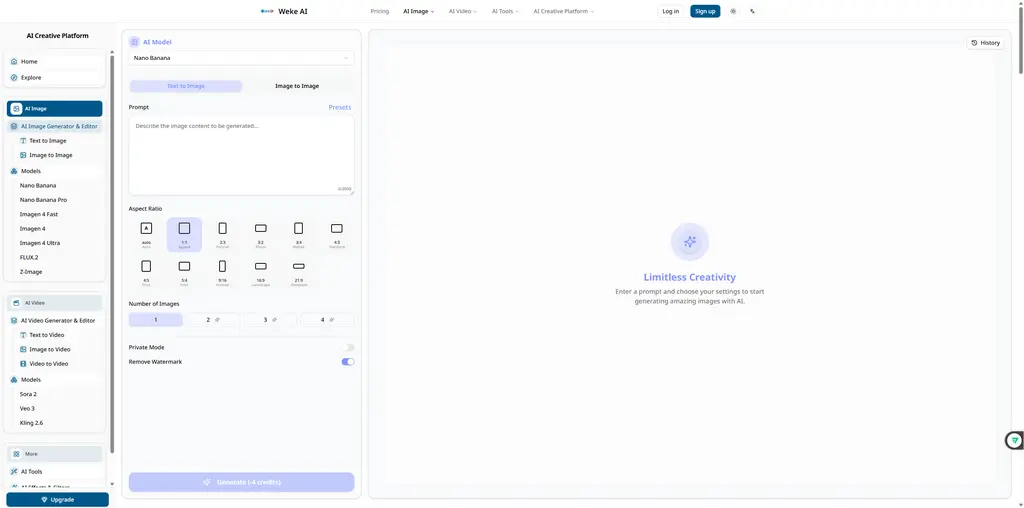
Quality varies wildly between platforms. Nano Banana consistently produces cleaner outputs than most competitors because it runs on Gemini 2.5 architecture. The model quality directly affects your results.
Spend time finding the right tool before spending time perfecting prompts.
4. Generate in Batches, Select the Best
Never accept the first output.
Generate 4-6 versions of anything important. AI has inherent randomness — sometimes attempt #4 nails what attempt #1 missed entirely.
The Nano Banana AI Generator makes batch generation efficient. Use that efficiency instead of settling for “good enough.”
5. Describe Lighting Like a Cinematographer
Lighting makes or breaks realism.
Weak lighting descriptions: – “Bright” – “Dark” – “Moody”
Strong lighting descriptions: – “Golden hour sunlight from the left, warm color temperature, long shadows” – “Soft diffused overcast daylight, even illumination, no harsh shadows” – “Single dramatic spotlight from above, high contrast, deep shadows on face”
Specific lighting = believable images.
6. Reference Real-World Contexts
AI models trained on real images understand real contexts.
Instead of describing abstract aesthetics, reference concrete scenarios:
• “Apple product photography style”
• “National Geographic wildlife photography”
• “Vogue editorial fashion shoot”
• “Documentary photography, photojournalist perspective”
These references carry embedded information about composition, lighting, color grading, and quality standards.
7. When You Need Video, Don’t Start From Scratch
Creating video content? Don’t fight with video prompts.
Better approach: 1. Generate a perfect static image first 2. Use image-to-video AI to animate it
weke combines both capabilities in one platform. Generate your image, click to convert to video. The image-to-video feature adds natural motion while preserving the quality you already achieved.
Way faster than trying to get video generation right from text alone.
8. Save Your Winning Prompts
Stop reinventing the wheel.
When a prompt produces great results, save it immediately. Build a prompt library organized by use case:
• Product photography prompts
• Portrait prompts
• Landscape prompts
• Abstract/conceptual prompts
Next time you need something similar, start from your proven template and adjust. Consistency improves, time decreases.
9. Layer Complexity Gradually
Complex prompts often confuse AI.
Instead of one massive prompt, try building up:
Round 1: Get the basic composition right “Professional headshot of a man in business attire”
Round 2: Add specifics “Professional headshot of a man in his 40s, navy suit, confident smile, soft studio lighting, gray background, LinkedIn profile style”
Round 3: Fine-tune Same prompt + “eye-level camera angle, slight head tilt, catch lights visible in eyes, 85mm portrait lens”
Each round refines the previous success rather than starting over.
10. Match Tool to Task
No single AI tool does everything well.
For highest-quality single images: Use specialized generators like Nano Banana. When quality matters most, use the best.
For mixed media needs (images + video + effects): Use all-in-one platforms like Weke.ai. The convenience of having text-to-image, image-to-video, style transfer, and other tools in one place saves significant time.
For quick experiments: Use whatever’s fastest. Not every image deserves premium processing.
Choose consciously based on what you actually need.
Quick Reference Checklist
Before generating your next image, run through this:
☐ Photography terms included? ☐ Specific lighting described? ☐ Negative constraints added? ☐ Real-world reference mentioned? ☐ Using quality generator for important outputs? ☐ Planning to generate multiple versions? ☐ Winning prompt saved afterward?
Follow these consistently and watch your AI image quality jump noticeably within days.
The Bottom Line
AI image generation isn’t magic. It’s a skill.
These ten techniques separate casual users from people getting professional results. None require advanced knowledge — just deliberate practice.
Start with tips #1, #3, and #5. Those three alone will improve most people’s results significantly. Add the others as you get comfortable.
Better inputs create better outputs. Simple as that.