
Your production line just stopped. Again. The plastic injection molding machine that was running smoothly yesterday now refuses to cooperate. Parts are coming out defective, and your deadline is approaching fast.
Sound familiar? Equipment failures cost manufacturers thousands of dollars in downtime, wasted materials, and missed deliveries. The good news is that most issues have straightforward solutions once you know what to look for.
This guide walks you through the ten most frequent problems manufacturers face with their injection molding machinery. You’ll learn the root causes, warning signs, and practical fixes that get your equipment back online quickly.
1. Inconsistent Shot Size and Fill Issues
When your plastic molding machine delivers different amounts of material from shot to shot, product quality suffers immediately. You’ll notice parts that are too light, too heavy, or have incomplete sections.
Common Causes:
- Worn check valve or check ring
- Inconsistent material feed
- Hydraulic system pressure fluctuations
- Screw or barrel wear
How to Fix It:
Start by checking the non-return valve at the end of your screw. This component prevents molten plastic from flowing backward during injection. If it’s worn, replace it immediately. The valve is a high-wear part that typically needs replacement every 6-12 months depending on your material and production volume.
Next, examine your hopper and feed throat. Material bridging in the hopper creates inconsistent feed rates. Install a hopper dryer if you’re processing hygroscopic materials like nylon or polycarbonate. Moisture content variations cause shot-to-shot inconsistencies.
Verify your hydraulic pressure settings. Pressure should remain steady throughout the injection cycle. Install pressure gauges at key points in your hydraulic system to monitor stability. If pressure fluctuates, check for:
- Leaking seals
- Worn hydraulic pump
- Contaminated hydraulic oil
Finally, measure your screw and barrel dimensions. After extended use, these components wear down. The clearance between screw flights and barrel wall should not exceed manufacturer specifications. Excessive wear requires replacement of the screw, barrel, or both.
2. Visible Flash or Excess Material on Parts
Flash appears as thin material fins along parting lines or ejector pin locations. It’s not just a cosmetic issue. Flash means your plastic injection molding machine is operating outside optimal parameters.
Root Causes:
- Insufficient clamping force
- Worn or damaged mold
- Excessive injection pressure
- Material temperature too high
Solutions:
Calculate your required clamping tonnage. The formula is: (Projected Area × Cavity Pressure) ÷ Clamping Force per Ton. Most materials need 2-8 tons per square inch of projected area. If your machine tonnage is inadequate for the part size, either reduce cavity count or use a larger machine.
Inspect mold parting surfaces for wear, damage, or contamination. Even minor imperfections create gaps where material escapes. Clean parting lines thoroughly with brass brushes and solvent. Check for:
- Damaged vents
- Worn shut-off surfaces
- Bent ejector pins
Reduce injection pressure gradually while maintaining part quality. Excessive pressure forces material into any available gap. Start by dropping pressure 5-10% and test parts. Continue until flash disappears but parts remain fully packed.
Lower melt temperature if possible. Higher temperatures reduce viscosity, making material more likely to flow into tight spaces. Most materials have a 20-30°F processing window. Stay in the lower half of that range to minimize flash while maintaining melt quality.
3. Hydraulic Oil Contamination and Leaks
Hydraulic systems power your injection molding machinery. When oil becomes contaminated or leaks develop, machine performance degrades quickly. You’ll experience slower cycle times, inconsistent movements, and potential component failure.
Warning Signs:
- Oil appears dark or cloudy
- Visible leaks around seals or fittings
- Unusual noise from hydraulic pump
- Erratic machine movements
Fixing the Problem:
Change your hydraulic oil on schedule. Most manufacturers recommend oil changes every 2,000-4,000 operating hours. Don’t skip this maintenance. Contaminated oil damages pumps, valves, and cylinders.
Install quality filtration. Your hydraulic system needs filtration rated at 10 microns or better. Check filters monthly and replace when pressure drop exceeds specifications. A clogged filter forces contaminated oil to bypass filtration entirely.
Address leaks immediately. Small drips become major problems. Tighten fittings to proper torque specifications. Replace damaged seals and O-rings. Keep replacement seal kits on hand for your specific machine model.
Check oil temperature. Hydraulic systems operate best between 100-120°F. Higher temperatures break down oil faster and damage seals. Lower temperatures increase viscosity and slow machine response. Install oil coolers or heaters as needed to maintain optimal temperature range.
For detailed information about hydraulic system maintenance, see our guide on lubrication failure on injection moulding machines.
4. Burn Marks and Degraded Material
Dark spots, streaks, or discoloration on finished parts indicate material degradation. This happens when plastic stays at elevated temperature too long or encounters excessive shear.
Causes:
- Barrel temperature too high
- Excessive screw speed
- Inadequate venting in mold
- Material residence time too long
Solutions:
Reduce barrel temperatures, especially in the feed zone. Material should gradually increase in temperature as it moves through the barrel. If your feed zone runs hot, material melts prematurely and degrades. Drop feed zone temperature 20-30°F below manufacturer recommendations.
Slow down screw rotation speed. High speeds generate excessive shear heating. This is especially true for shear-sensitive materials like PVC or rigid POM. Reduce speed by 10-15% increments until burn marks disappear.
Improve mold venting. Trapped air compresses during injection and generates extreme temperatures. Air temperatures can reach 900°F or higher, burning the plastic. Add vent channels 0.0005-0.001 inches deep at the end of fill locations.
Purge your machine regularly when changing materials or colors. Old material trapped in the screw and barrel degrades over time. Use commercial purging compounds or virgin material to clean the system thoroughly.
Monitor actual melt temperature, not just barrel settings. Use a pyrometer to measure material temperature as it exits the nozzle. Actual melt temperature often differs from barrel settings. Adjust accordingly based on measured values.
5. Short Shots and Incomplete Parts
Short shots happen when insufficient material fills the mold cavity. Parts have missing sections or thin areas. This defect creates scrap and reduces production efficiency.
Common Reasons:
- Shot size too small
- Injection speed too slow
- Material viscosity too high
- Cold mold surfaces
How to Fix:
Increase shot size first. This is the simplest adjustment. Add 5-10% more material and verify parts fill completely. Ensure your shot size doesn’t exceed 80% of barrel capacity. Staying below this limit prevents material degradation from excessive residence time.
Speed up injection rate. Faster injection pushes material into the cavity before it cools and solidifies. This is especially important for thin-wall parts or long flow lengths. Test different speeds to find the optimal balance between fill quality and part stress.
Raise melt temperature within the material’s processing window. Higher temperatures reduce viscosity and improve flow. Don’t exceed manufacturer recommendations, as this increases degradation risk.
Increase mold temperature. Cold molds freeze material prematurely. Most materials benefit from mold temperatures 20-30°F higher than ambient. Use mold temperature controllers to maintain consistent heat.
Check for flow restrictions in your hot runner system or cold runner channels. Restrictions create excessive pressure drop and prevent complete filling. Polish runner surfaces and verify gate sizes match your material requirements.
6. Excessive Cycle Time and Production Delays
When your plastic molding machine runs slower than expected, production output drops and costs increase. Long cycle times have multiple causes, but most are fixable with proper adjustments.
Contributing Factors:
- Excessive cooling time
- Slow injection or recovery
- Inefficient machine settings
- Undersized equipment
Optimization Steps:
Analyze your cooling time. This typically represents 50-70% of total cycle time. Install proper cooling channels in your mold. Water should flow turbulently (Reynolds number above 5,000) through channels. Calculate required cooling time using material thermal properties rather than trial and error.
Optimize injection speed and pressure profiles. Modern machines allow multiple stages during injection. Use faster speeds initially, then slow down as the cavity fills. This approach reduces cycle time while maintaining part quality.
Reduce screw recovery time. If recovery takes longer than your cooling time, it becomes the cycle bottleneck. Solutions include:
- Increase back pressure (carefully, to avoid degradation)
- Raise barrel temperatures slightly
- Verify screw design matches your material
Consider your machine capacity. If you’re running a 100-ton machine at maximum capacity, cycle times suffer. Upgrade to properly sized equipment when production volume justifies the investment. Learn more about plastic injection molding machine price considerations before making purchasing decisions.
7. Warping and Dimensional Instability
Parts that warp or change dimensions after ejection create assembly problems and scrap. This issue stems from uneven cooling, residual stress, or improper processing conditions.
Causes:
- Uneven mold cooling
- Excessive packing pressure
- Premature ejection
- Material orientation stress
Corrective Actions:
Balance your mold cooling system. Temperature differences across the mold create uneven shrinkage. Aim for uniform cooling on both cavity and core sides. Use thermal imaging cameras to identify hot spots. Add or enlarge cooling channels in problem areas.
Reduce injection and packing pressure. High pressure aligns polymer molecules and creates internal stress. This stress releases over time, causing warpage. Lower pressure settings by 10-15% while maintaining acceptable part quality.
Extend cooling time before ejection. Parts need sufficient time to solidify completely. Premature ejection allows internal stresses to deform the part. Calculate minimum cooling time based on part thickness and material properties.
Adjust gate location if warpage persists. Gate position affects how material flows and packs in the cavity. Moving the gate changes molecular orientation patterns. Test different gate locations in your mold design phase.
Modify holding pressure and time. After injection completes, holding pressure compensates for material shrinkage during cooling. Insufficient holding creates voids and dimensional problems. Increase holding pressure until gate freezes, preventing backflow.
8. Contamination in Finished Products
Foreign materials, black specks, or color streaks in parts indicate contamination somewhere in your process. This defect damages product quality and customer satisfaction.
Sources:
- Degraded material in barrel
- Dirty equipment
- Cross-contamination between materials
- Environmental contaminants
Prevention and Fixes:
Establish strict material handling procedures. Store materials in sealed containers away from contaminants. Use dedicated scoops and containers for each material type. Never return floor-swept material to production hoppers.
Implement thorough purging procedures during material changes. The amount of purge needed depends on color and material changes. Light to dark colors need less purging than dark to light. Different material types require more extensive purging.
Clean your barrel and screw regularly. Remove the screw and manually clean both components every 3-6 months. Use brass brushes and appropriate cleaning agents. Inspect for wear, damage, or carbon buildup.
Verify material cleanliness before processing. Run test shots before production starts. Check for contamination in the raw material itself. Even new material can contain contaminants from suppliers.
Maintain clean surroundings. Manufacturing environments accumulate dust and debris. These contaminants enter the hopper or settle on hot mold surfaces. Regular cleaning prevents many contamination issues.
9. Nozzle Drool and Material Leakage
Material dripping from the nozzle between cycles wastes plastic and creates potential safety hazards. This problem also indicates other issues with your injection molding machinery.
Typical Causes:
- Worn nozzle seal
- Excessive melt temperature
- Insufficient decompression
- Wrong nozzle design
Repair Steps:
Replace your nozzle seal or tip. These components wear over time, especially with abrasive or glass-filled materials. Keep spare nozzles in your maintenance inventory. Replacement takes only minutes and solves most drool problems.
Lower barrel temperatures. Excessive heat reduces material viscosity, making it more likely to drip. Drop nozzle zone temperature by 10-20°F. Test for drool after each adjustment.
Increase decompression (suckback) after injection. This pulls the screw back slightly, creating negative pressure that prevents dripping. Most machines need 0.1-0.3 inches of decompression. Too much causes air entrapment in the next shot.
Install a shut-off nozzle for severe drool problems. These nozzles mechanically seal the tip between cycles. They’re particularly useful for high-temperature materials or long cycle times.
Check nozzle alignment with the mold. Misalignment creates gaps where material escapes. Verify proper contact between nozzle and sprue bushing. Adjust machine position or install longer nozzles as needed.
10. Electrical Control System Failures
Modern injection molding machines rely on sophisticated electronic controls. When these systems fail, your entire operation stops. Understanding common electrical issues helps minimize downtime.
Common Problems:
- Sensor failures
- Controller errors
- Wiring issues
- Power supply problems
Troubleshooting Guide:
Document all error codes and symptoms. Modern machines display specific fault codes. Record these before attempting repairs. Consult your machine manual for code definitions and recommended actions.
Check all sensors and proximity switches. These devices tell the controller where moving parts are positioned. Failed sensors cause the machine to stop mid-cycle. Test sensors with a multimeter and replace faulty units.
Inspect wiring connections. Vibration loosens connections over time. Check for:
- Corroded terminals
- Broken wires
- Loose connectors
- Damaged insulation
Keep controller software updated. Manufacturers release updates that fix bugs and improve performance. Schedule updates during planned maintenance windows to avoid production interruptions.
Maintain a clean electrical cabinet. Dust and moisture damage electronic components. Keep cabinet doors closed. Install air conditioning or cooling fans if cabinet temperatures exceed 100°F.
Understanding your machine components helps identify and fix problems faster. Review our detailed breakdown of parts of plastic molding machine to familiarize yourself with each system.
Preventive Maintenance: The Key to Avoiding Problems
Most injection molding machinery problems are preventable through consistent maintenance. Establish a comprehensive program that covers:
Daily Tasks:
- Visual inspection of hydraulic leaks
- Lubrication of moving parts
- Cleaning of hopper and feed throat
- Temperature verification
Weekly Maintenance:
- Filter inspection and replacement
- Detailed leak checks
- Screw and barrel cleaning
- Safety system testing
Monthly Procedures:
- Hydraulic oil analysis
- Alignment verification
- Calibration checks
- Detailed equipment inspection
Annual Overhaul:
- Complete hydraulic system service
- Electrical system testing
- Structural inspection
- Precision measurement of critical components
Document all maintenance activities. This creates a history that helps identify recurring problems and plan component replacements before failures occur.
Comparison: Problem Severity and Downtime Impact
| Problem Type | Severity Level | Typical Downtime | Repair Complexity | Prevention Difficulty |
|---|---|---|---|---|
| Flash | Medium | 1-2 hours | Low | Easy |
| Short Shots | Medium | 2-4 hours | Low | Easy |
| Contamination | High | 4-8 hours | Medium | Medium |
| Warping | Medium | 2-6 hours | Medium | Medium |
| Hydraulic Leaks | High | 1-8 hours | Medium | Easy |
| Nozzle Drool | Low | 15-30 minutes | Low | Easy |
| Electrical Failures | Critical | 4-24 hours | High | Medium |
| Burn Marks | Low | 1-2 hours | Low | Easy |
| Inconsistent Shots | High | 2-8 hours | Medium | Medium |
| Long Cycle Times | Low | Ongoing | Medium | Medium |
Cost Comparison: Reactive vs. Preventive Maintenance
| Maintenance Approach | Annual Cost (100T Machine) | Downtime Hours/Year | Production Loss | Total Impact |
|---|---|---|---|---|
| Reactive Only | $8,000-12,000 | 120-200 | $50,000-80,000 | $58,000-92,000 |
| Basic Preventive | $12,000-15,000 | 40-60 | $15,000-25,000 | $27,000-40,000 |
| Comprehensive Preventive | $18,000-22,000 | 15-25 | $5,000-10,000 | $23,000-32,000 |
The numbers prove that investing in preventive maintenance saves money. Comprehensive programs cost more upfront but deliver significant savings through reduced downtime and eliminated emergency repairs.
When to Call Professional Service
Some problems require expert intervention. Contact qualified service technicians when you encounter:
- Repeated failures after attempted repairs
- Structural damage to machine components
- Complex electrical or hydraulic system problems
- Safety system failures
- Issues beyond your team’s expertise
Don’t delay calling for help. Continued operation with serious problems causes additional damage and increases repair costs.
Making the Right Equipment Investment
Sometimes repairs aren’t enough. Aging equipment reaches a point where replacement makes more financial sense than ongoing repairs. Consider new equipment when:
- Repair costs exceed 50% of replacement value annually
- Parts availability becomes limited
- Production demands exceed machine capacity
- Energy efficiency improvements justify investment
- Technology advances offer significant productivity gains
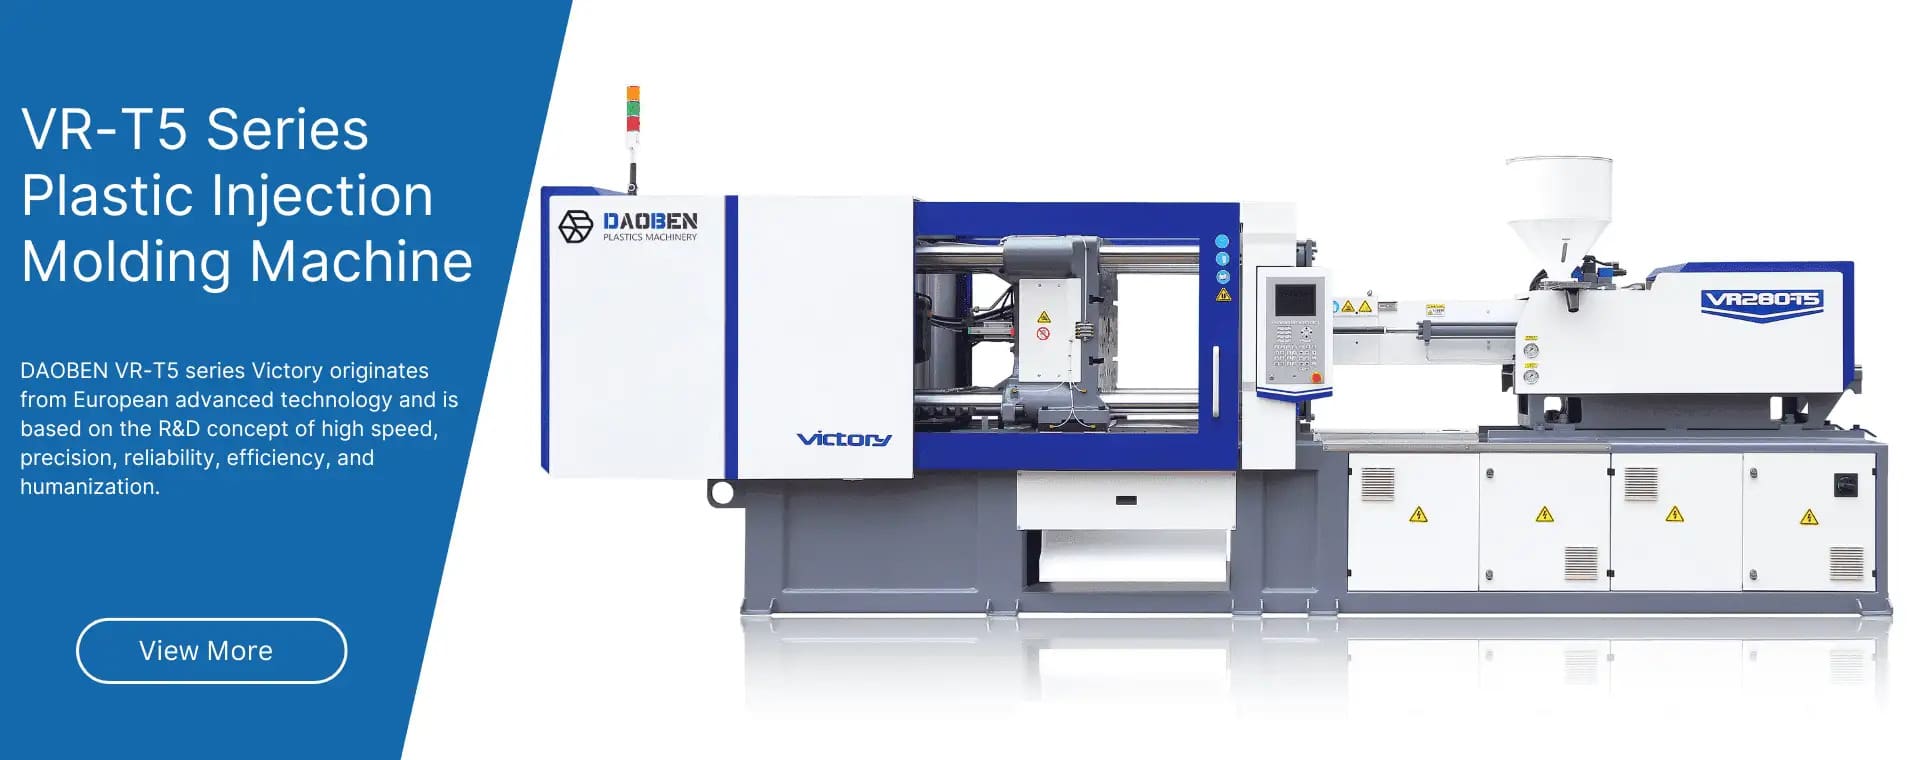
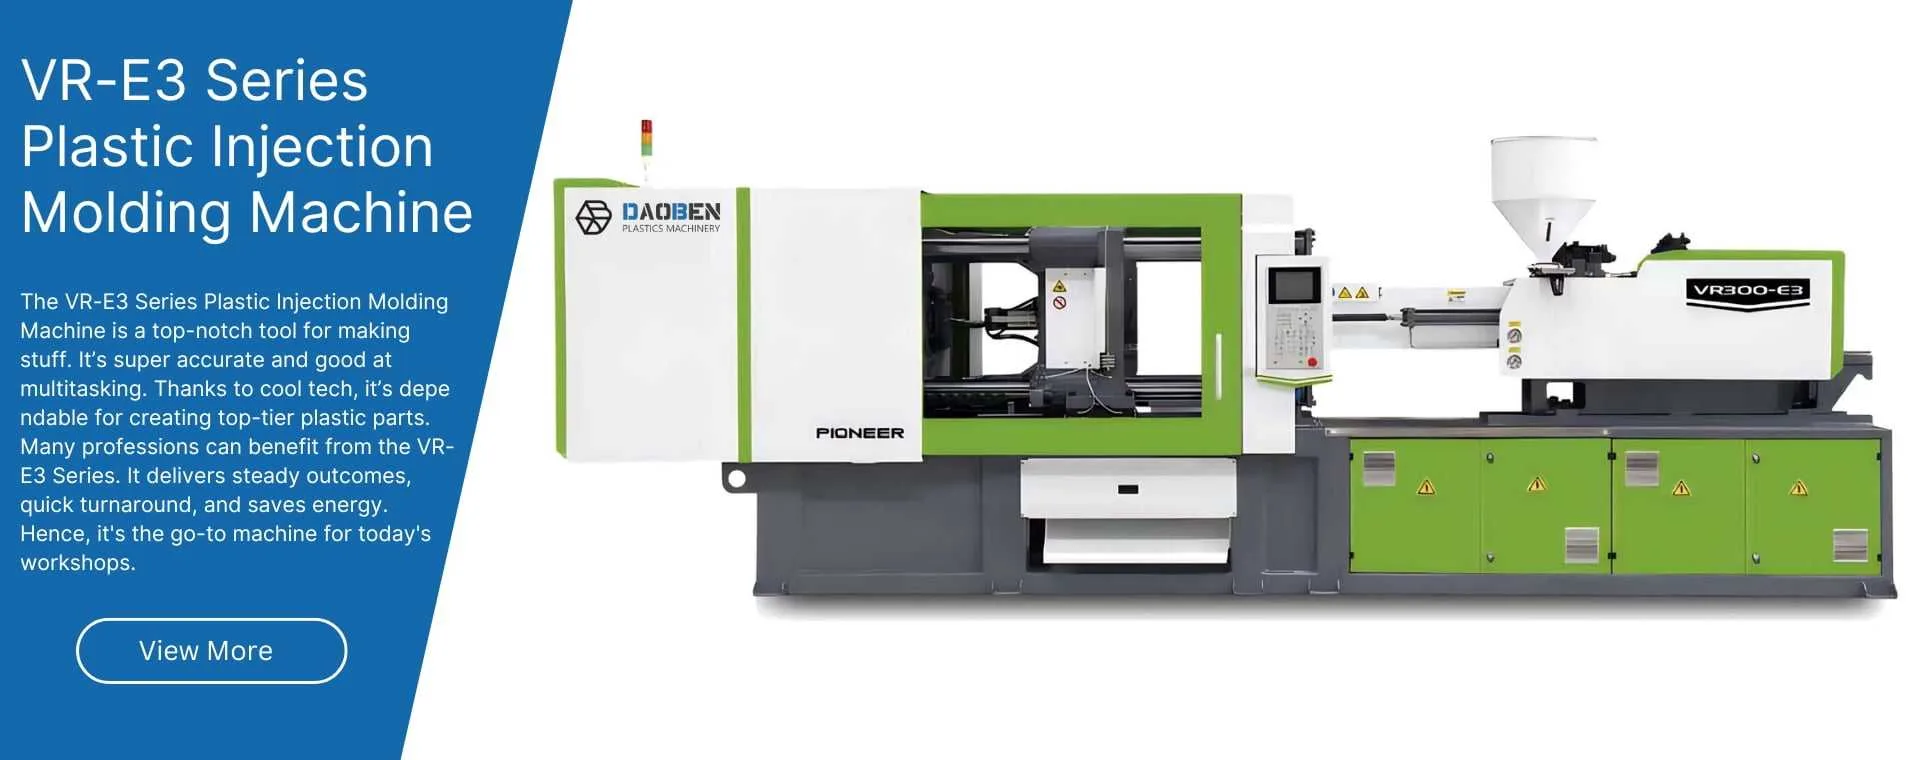
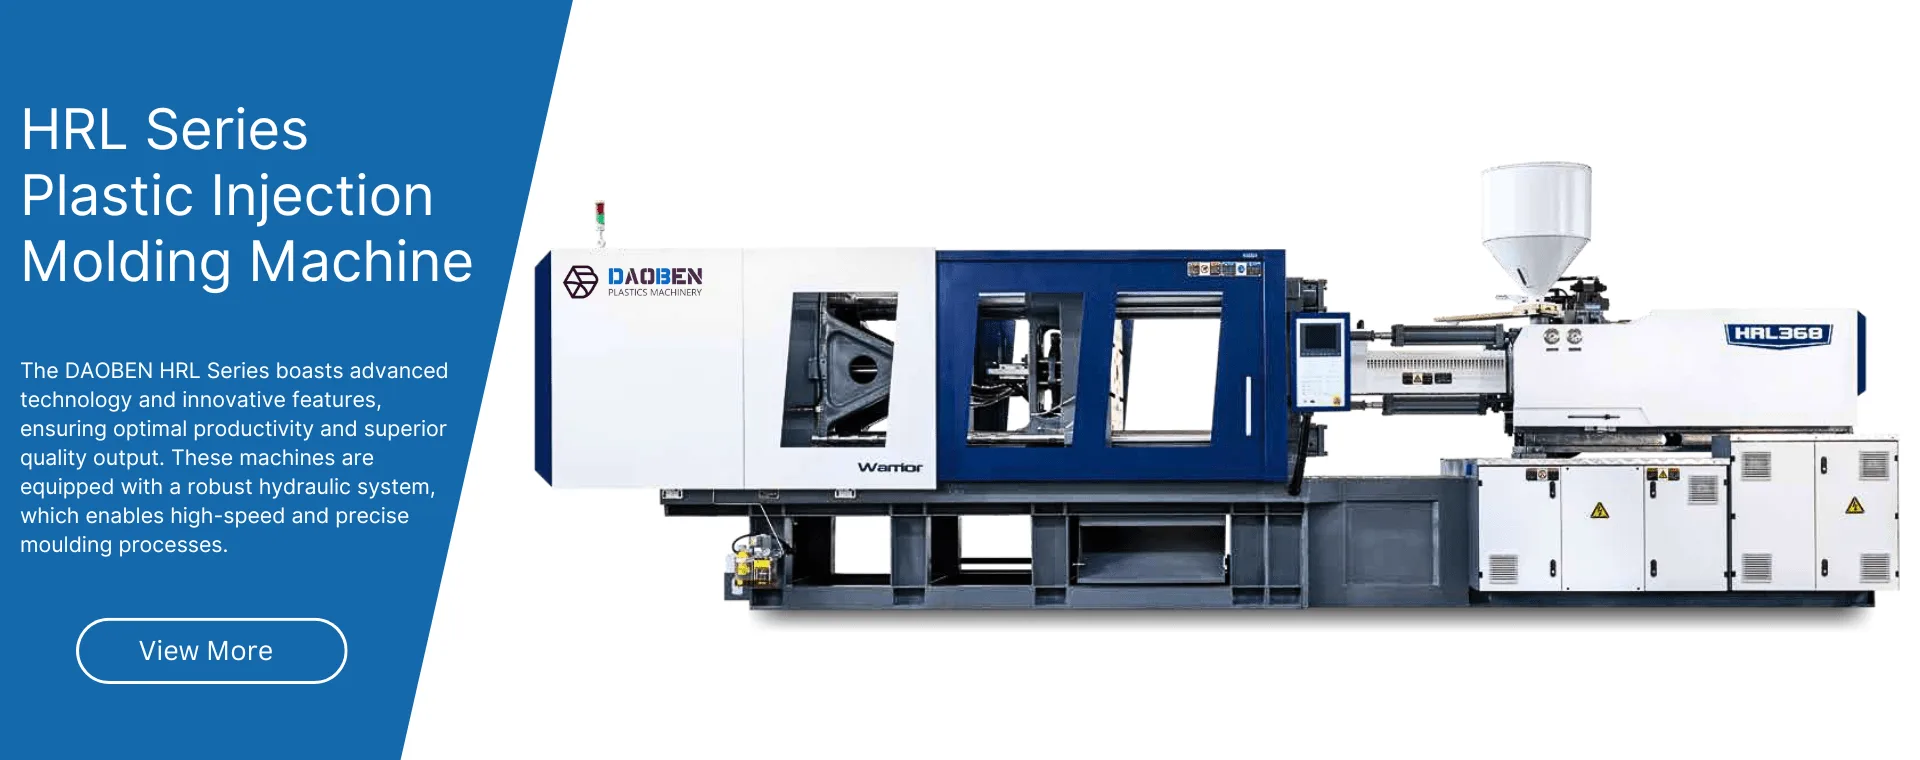
At Daoben Machinery, we manufacture reliable plastic injection molding machines from 30 to 4,000 tons. Our equipment delivers consistent performance with minimal maintenance requirements. We understand that production uptime matters. That’s why we design machines for durability and ease of maintenance.
Whether you need equipment for plastic chair production or other high-volume applications, we provide solutions that keep your operation running smoothly.
Take Action Today
Equipment problems are frustrating, but they don’t have to stop your production. Most issues have straightforward solutions once you understand the root causes.
Start with a thorough assessment of your current injection molding machinery. Identify recurring problems and implement the fixes described in this guide. Establish preventive maintenance procedures to avoid future issues.
As the original manufacturer, Daoben Machinery provides direct support without middleman markups. Our engineering team helps customers solve technical challenges and optimize machine performance. We stock comprehensive parts inventories for fast delivery when you need replacements.
Contact us today to discuss your specific requirements. Whether you need technical support for existing equipment or want to explore new machine options, we’re here to help. Our experience manufacturing machines from 30 to 4,000 tons means we understand applications across all production scales.
Don’t let equipment problems limit your success. Get expert assistance from the manufacturer who built your machine.
FAQs
Q1: How often should I replace the check valve on my plastic injection molding machine?
Check valve replacement depends on material type and production volume. Abrasive or glass-filled materials wear valves faster. Most operations need replacement every 6-12 months. Monitor shot consistency as the primary indicator. When shot-to-shot weight variation exceeds 2-3%, inspect and likely replace the check valve. Keep spare valves in inventory to minimize downtime during replacement.
Q2: What’s the actual cost difference between reactive and preventive maintenance for injection molding machinery?
Comprehensive preventive maintenance costs 50-75% more annually than reactive approaches. However, total operational costs drop 60-70% when factoring in downtime and production losses. For a 100-ton machine, preventive programs cost $18,000-22,000 yearly but save $35,000-60,000 in avoided downtime and emergency repairs. The return on investment typically appears within the first year of implementation.
Q3: How do I determine if repairing or replacing my plastic molding machine makes better financial sense?
Calculate total annual repair costs including parts, labor, and production losses from downtime. If this exceeds 50% of replacement cost, consider new equipment. Also evaluate energy consumption differences. Modern machines use 20-40% less energy, providing ongoing operational savings. Factor in production capacity needs and parts availability. Limited parts access for machines over 15 years old often justifies replacement regardless of repair costs.
Q4: What specifications should I prioritize when selecting a new injection molding machine for high-volume production?
Shot capacity and clamping force match your specific part requirements first. Select machines where your shot size falls between 25-75% of barrel capacity. This range optimizes material residence time and cycle efficiency. Evaluate servo-hydraulic or all-electric options for 30-50% energy savings on high-volume applications. Consider tie-bar spacing that accommodates current and future mold sizes. Finally, verify the manufacturer provides direct technical support and maintains comprehensive parts inventory.
Q5: How can I reduce cycle times without compromising part quality or causing additional machine wear?
Start with cooling optimization, as this represents 50-70% of cycle time. Verify proper cooling channel design with turbulent water flow. Install or upgrade mold temperature controllers for faster, more consistent cooling. Next, analyze and optimize your injection profile using multiple stages. Fast initial injection followed by controlled cavity packing reduces cycle time while maintaining quality. Ensure shot size doesn’t exceed 80% of barrel capacity, as oversized shots increase recovery time unnecessarily.